You connect the water source to a back‑flow‑protected manifold, then measure static PSI with a bucket test and dynamic pressure under flow to size PVC or polyethylene pipe that delivers uniform GPM to each zone. A controller links zone valves to programmed stations, letting you set dates, times, and durations, while moisture or rain sensors can skip cycles. Choose spray heads for under 1,000 sq ft, rotors for larger areas, and decide between pop‑up or fixed heads based on pressure and layout. Proper spacing and low‑flow heads cut waste, and a backflow preventer meets code. Continue, you’ll unearth troubleshooting tips and optimization strategies.
Explain Water Flow in Sprinkler System Installation
When you begin installing a sprinkler system, first locate a nearby water source—typically an unused spigot or main line—and tap into it to feed the manifold. Verify the connection with a backflow preventer installed higher than any valve, then run the main line to the manifold location. Measure static flow using a bucket test: fill a 5‑gallon container, time the fill, and compute GPM (5 gal × 60 ÷ seconds). Record static PSI on an unregulated spigot, then repeat under flow to gauge dynamic pressure. Size PVC or polyethylene pipe so the header line supplies uniform pressure to each lateral; a 3/4‑inch minimum prevents excessive velocity. Monitor for water hammer effects—sudden pressure spikes caused by rapid valve closure—and mitigate them with proper manifold configuration and pressure‑rating components. Determine flow rate by timing how long it takes to fill a 5‑gallon bucket. Understanding sprinkler head flow is essential for accurate water demand calculations. Properly assessing soil type helps you adjust irrigation schedules for optimal water efficiency.
Control Zones With Valves & Controllers
A typical irrigation controller links each zone valve to a dedicated station port, sending a low‑voltage pulse that energizes the solenoid and lifts the valve plunger to start water flow. You program the controller by setting date, time, watering days, start times, and durations for each zone, using button or dial interfaces. Sensors integration let you attach moisture or rain sensors to the controller, automatically skipping cycles when conditions are met, which boosts energy efficiency. Wired waterproof connectors secure the signal between station ports and solenoid valves, while modular expansion modules let you add zones without replacing the whole unit. Battery backup or permanent memory preserves settings during outages, ensuring reliable operation across all zones. Modular controllers enable easy zone expansion without replacing the entire system. Proper grounding of the power supply reduces the risk of electrical interference and safety during operation. The valve spring provides a fail‑safe closure mechanism when power is lost.

Effortless Smart Watering Control: The Orbit B-hyve XD 2-Port Smart Hose Watering Timer delivers effortless auto watering, automatically adjusting watering schedules based on local weather data

【Longer & More Stable Antenna Gateway】The WiFi sprinkler controller is equipped with the latest antenna gateway, HWG023, which can transmit signals up to 250 meters and penetrating 3-4 walls, wider and more stable than traditional WiFi hubs (Only Support 2.4GHz WiFi and the RAINPOINT HOME app). One WiFi gateway can pair with up to 8 WiFi RAINPOINT devices, such as soil and rain sensors, HTV145, and HTV210, to create a fully connected smart watering system

4-Valve Control: Manages water flow for up to four sprinkler zones
Select the Ideal Sprinkler Head for Installation
Choosing the right sprinkler head hinges on matching head’s characteristics to your landscape’s size, pressure, and soil type. First, assess lawn size: for areas under 1,000 sq ft, a spray head works best; for 1,000‑5,000 sq ft, a rotary or multi‑stream rotor provides uniform coverage. Next, verify water pressure: spray heads require 20‑30 PSI, rotary heads need above 30 PSI, and impact sprinklers demand even higher pressure. Then, examine soil: sandy soils pair well with fine‑mist spray heads, while clay or uneven terrain benefits from rotors that reduce runoff. Guarantee head‑to‑head spacing aligns with the selected head’s radius—no more than 15 ft for spray, less than the supplied PSI for rotary. By matching sprinkler heads to lawn size and considering water pressure requirements, you optimize efficiency and avoid over‑watering.

ADJUSTABLE ARC & SPRAY DISTANCE: Includes a preinstalled 3.0 GPM nozzle with an arc that adjusts from 40° to 360°, ideal for both full and part circle coverage. Delivers a spray distance of approximately 22 to 52 feet, with optional nozzles (sold separately) allowing further customization.
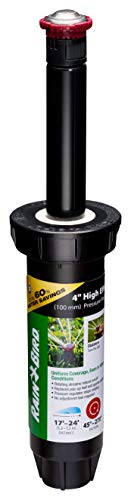
Approved for sale/meets pressure regulation legislation requirements in: CA, CO, HI, VT, MA, ME, NY, OR, RI, WA, and Washington DC

Approved for sale/meets pressure regulation legislation requirements in: CA, CO, HI, VT, MA, ME, NY, OR, RI, WA, and Washington DC
Pop‑Up vs. Fixed Heads: Operation & Use
After selecting the appropriate sprinkler head size and pressure, you next to decide whether a pop‑up or a fixed head best fits the layout. Pop‑up heads rise when pressure reaches 30‑40 psi, then retract via a spring, delivering a fixed fan pattern determined by the nozzle (quarter‑ to full‑circle). They cover 7‑45 ft widths, reduce mower damage, and suit irregular lawns. Fixed heads stay stationary, emit a constant fan, and are ideal for compact zones under 15 ft where precise, non‑retracting coverage prevents waste. Sprinkler maintenance considerations include spring wear for pop‑ups and nozzle clogging for both types. Cost comparisons of types reveal pop‑ups cost more upfront due to mechanical parts, while fixed heads are cheaper but limited to smaller, fixed areas. Proper overlap is essential to ensure even water distribution across the garden. Adjusting head spacing based on spray radius helps achieve uniform coverage while conserving water. Choosing a head with a low flow rate can further reduce water consumption without compromising plant health. Modern systems often integrate moisture sensors to automatically suspend watering when soil moisture is sufficient.

Packing List: you will receive 10 pop-up sprinkler heads made of durable plastic, each measuring 5.91 x 2.24 x 0.79 inch/ 15 x 5.7 x 2 cm, which can be easily installed in multiple areas to create an efficient and professional lawn irrigation system
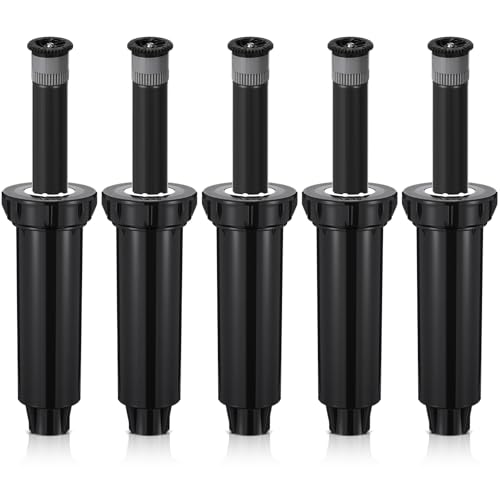
Packing List: you will receive 5 pop-up sprinkler heads made of durable plastic, each measuring 5.91 x 2.24 x 0.79 inch/ 15 x 5.7 x 2 cm, which can be easily installed in multiple areas to create an efficient and professional lawn irrigation system
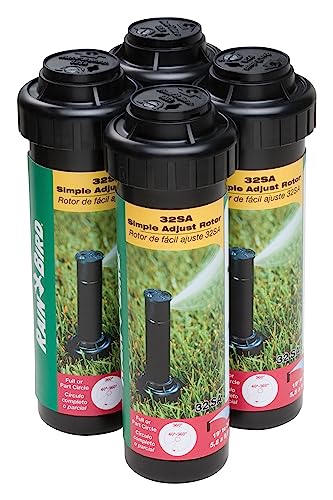
Economical 4-pack of water-lubricated, durable gear-driven rotors designed for reliable operation and long life
Install Backflow Preventers to Meet Code
Installing a backflow preventer isn’t optional; it’s a code‑mandated step that safeguards potable water from contamination. First, identify the applicable code requirements for your jurisdiction, because local water districts often demand RPZ assemblies on irrigation lines. Verify that the selected assembly appears on the approved list and matches the hazard level—high‑hazard lines usually need RPZ, while low‑hazard lines may accept double‑check valves. Obtain the necessary building and plumbing permits; the plumber will submit the permit request to the local authority. Position the preventer immediately after the water meter, no more than five feet underground, and guarantee it’s above ground in an enclosure with access for test cocks and maintenance. Install shut‑off valves on both sides, orient the unit per approved design, and avoid downward‑facing vertical placement. After installation, a certified tester must perform a leak‑free, valve‑function test and submit the report within the mandated 5‑15 business‑day window to achieve regulatory compliance. Annual testing sustains compliance. RPZ installations are prohibited below grade due to safety and liability concerns. Proper cross‑connection control is essential to prevent contaminated water from entering the municipal supply. Backflow prevention devices also protect against back‑siphonage when a hose is left submerged in a pool. The double‑check valve provides a reliable low‑hazard solution when RPZ devices are not required.
Program Timers for Efficient Water Use
A well‑programmed timer can cut irrigation waste by up to 30 % while delivering water exactly when each zone needs it. First, set the controller’s clock and day of week using the dial and +/- buttons; this step is done once. Next, enter run times for each valve, matching the moisture needs of turf, garden, or shrub zones. Choose start times—one to three per day—and assign them to Programs A, B, C, ensuring no overlap. Use the interval selector to define watering frequency, then apply manual adjustments for any zone that deviates from the baseline. Implement seasonal scheduling by swapping day patterns (e.g., odd/even) as temperature and rainfall change. Finally, verify that the timer is in semi‑auto mode for supplemental watering, and switch to off mode during rain to preserve settings. Proper timing also helps prevent over‑watering and reduces the risk of fungal diseases. Understanding soil moisture levels can further fine‑tune watering schedules for optimal plant health.

Smart Automatic Watering Control: The Orbit Programmable Digital Hose Watering Timer transforms a faucet into an automatic watering system using a reliable single outlet hose timer

Smart Automatic Watering Control: The Orbit Programmable Digital Hose Watering Timer transforms a faucet into an automatic watering system using a reliable dual outlet hose timer

[Custom Watering for 2 Different Areas] Stop buying two separate timers! This 2-zone sprinkler lets you run independent plans for your thirsty lawn and delicate flowers simultaneously. Proven precise control lets you set duration (1 min–3 hrs 59 mins) and frequency (1-12 hrs or 1-7 days) exactly to the minute—no more overwatering fragile plants or underwatering your grass.
Diagnose Low Pressure, Clogged Heads, Leaks
Having set your timers, the next step is to verify that water actually reaches each head at the expected pressure. First, read the pressure gauge at the source or backflow device; note whether the reading is low across the whole system or isolated to a single zone. If only one zone suffers, inspect that zone’s valve, wiring, and head for debris. Clean clogged heads by removing the nozzle, soaking in vinegar, and clearing mineral buildup. Next, walk the lawn for soggy lines or patches that indicate underground loss; dig carefully to locate the break and repair leaking pipes. Finally, confirm the main supply valve is fully open, measure zone circuit voltage and resistance, and troubleshoot faulty components before restoring full pressure. Inspect zone circuit resistance to ensure the valve is receiving proper electrical power. Remember that most sprinkler solenoids are polarity‑agnostic and will operate correctly regardless of wiring direction. Understanding the standard vs proprietary design helps you select a compatible solenoid for your specific sprinkler model. If you notice a clicking noise when the valve should be open, it often indicates a failing solenoid that may need cleaning or replacement.

Replacement solenoid for Rain Bird APAS, ASVF, ECV, CP, CPF model valves

Captive hex plunger feature
Optimize Coverage & Reduce Water Waste
Optimizing coverage while cutting water waste starts with arranging sprinkler heads so their spray patterns overlap just enough to eliminate gaps. You should space heads at 50‑55 % of spray diameter for square patterns and up to 60 % for other patterns, ensuring one head reaches the edge of the next. Conduct sprinkler system audits to verify that each zone layout respects the 15‑head‑per‑zone rule and that pressure‑regulating heads prevent misting. Use adjustable nozzles to narrow or expand arcs, matching each head to its intended zone and avoiding non‑plant areas. Upgrade to MP rotators or low‑precipitation heads for slower, deeper soil infiltration. Finally, map pressure tests, replace weak points, and employ rain or soil‑moisture sensors to pause irrigation when unnecessary. Adding additional heads can eliminate dry spots caused by overly spaced sprinklers. Properly accounting for soil infiltration rate ensures water reaches the root zone efficiently. Consider the flow rate of each zone to balance water distribution and prevent under- or over‑watering. Implementing uniform spray overlap further reduces water loss and promotes even moisture distribution.


