Grab your as‑built map or check the homeowner file, then locate the valve boxes—those green or black lids with “zone” labels. Open a box, clip the red alligator lead to the valve’s wire and the black to a grounding rod, and sweep a handheld locator wand across the lawn; the wand will glow where the wire runs. Probe a few feet away at about 8‑12 in depth to confirm the pipe’s path, and mark the spots before you dig. Keep going for more detailed steps.
Find the As‑Built Map to Locate Underground Irrigation Lines
A quick way to pinpoint your underground irrigation is to start with the as‑built map, which shows exactly where each pipe, valve, and wire was installed. First, obtain irrigation records from your homeowner file, the contractor, or municipal permits. If the map isn’t on hand, request the as‑built set from the installer or search closing documents and inspection reports. Once you have the drawings, digitize them: import scans into a GPS‑enabled app, then use a high‑accuracy receiver or a Moasure device to trace lines on site. Label each valve, header, and lateral, then export the data as a PDF, Excel list, or Google Earth file. Finally, create a digital sprinkler map that layers zones over aerial imagery for easy reference during maintenance or future upgrades. The control box is typically located near the main water valve, in the utility closet, or attached to the irrigation system’s wiring. Understanding sprinkler timer functionality can further streamline troubleshooting and water conservation efforts. Remember to call 811 before any digging to have utilities marked and avoid costly damage.
Spot Valve Boxes for Easy Access
Once you have the as‑built map digitized, locate the valve boxes on the plan and then hunt them out in the yard. Scan the lawn for green or black lids that sit flush with the grass; the slight protrusion or depression often marks a rectangular or round box. Look for labels like “zone 1” or “reclaimed” on the lid, which help you pinpoint the exact spot. Check near sprinkler manifolds, aeration cabinets, or utility paths—these are common locations. When you spot a box, verify its condition for a quick valve condition inspection and note any corrosion or debris. Record the findings in your valve maintenance scheduling system so you can plan future checks without digging. Ensure the box is sufficiently deep to accommodate both current components and any future expansion. Installing valves above ground can simplify access but may expose them to temperature extremes and UV degradation. Properly mounted valves can also be installed vertically to save space and maintain consistent flow. Maintaining the recommended 12–18 inches height above ground helps achieve uniform water distribution.

UNIVERSAL SPRINKLER BOX LID: The Underhill VL-6T-24 and VL-6-24 VersaLid models fit round valve boxes for residential and commercial grade sprinkler systems; available in Green, Tan, or Purple colors

【Suitable Size】Sprinkler valve Box cover is Only compatible with outside irrigation valve boxes that have an inner diameter of 5.5 inches and an outer diameter of 6 inches. Ensure to measure yours before purchasing.
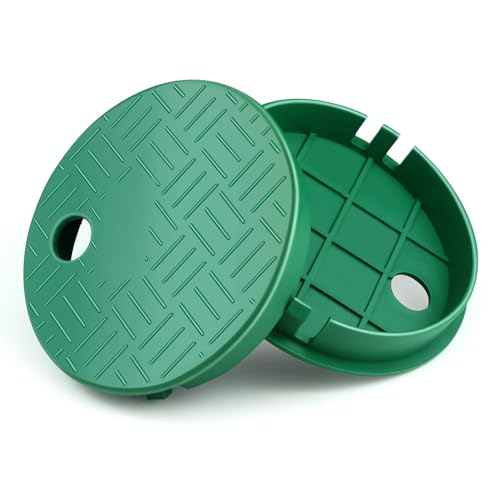
APPLICABLE SIZE 5.5" ID and 6" OD: Round sprinkler valve cover exclusively suitable for 5.5" ID and 6" OD round valve boxes, perfect for residential and commercial sprinkler systems in gardens, parks, campuses and greenhouses.
Open the Box and Identify the Connected Valve
One of the quickest ways to verify a sprinkler zone is to lift the valve‑box lid carefully, then glance inside to spot the solenoid that matches the zone you’re testing. First, place a flat pry tool or the built‑in handle on the edge and pry gently to avoid cracking the cover. Wear gloves, then check for standing water or debris that could obscure the valve. Perform a valve integrity assessment by confirming the diaphragm moves freely and the inlet and outlet connections are clean. For the zone identification check, compare the label or color code on the solenoid with your controller’s zone map. If labels are missing, trace the wire bundle to its controller terminal and note the corresponding zone number before resealing the box. The coat hanger can also be used to locate the underground line by detecting its energy response. You can also listen for a click when the system powers on to confirm the solenoid is functioning. Understanding the voltage compatibility of a solenoid helps ensure it works with your controller and water pressure.
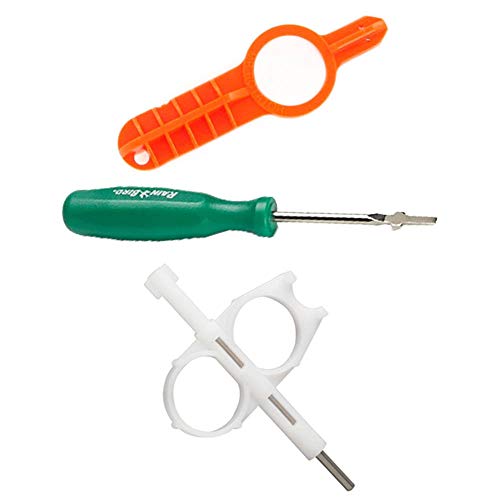
Hunter Key

Handy tool makes working on pop-up sprinklers easy

Accessory For Voyager Ii
Use an Electronic Locator to Trace Sprinkler Wires
You’ll start by clipping the red alligator lead to the specific station wire that feeds the valve you want to locate, then attach the black clip to a grounding rod to complete the circuit. Turn on the transmitter, set a modest output, and sweep the wand slowly over the ground. Listen for the tone and watch the meter; stronger signals mean you’re over the buried wire, while weaker readings indicate distance or high wire resistance levels. Adjust the frequency if the tone fades, refining your operator technique to filter out interference. Keep the wand level and move in a straight line from the controller toward the valve, noting any shifts that reveal bends or junctions. This method maps the entire path quickly, pinpointing the exact valve location without any digging. Ensure a good ground connection to achieve optimal signal strength. Remember to use a metal detector to verify the presence of sprinkler heads before digging. Backflow preventers are essential for protecting the potable water supply from contamination when irrigation systems are connected. Proper installation of a double‑check valve near the water main helps maintain system safety and code compliance.

New Upgraded Underground Wire Locator: NF-818L underground wire tracer can help Locating & tracking buried and hidden wires, quickly and accurately locate the break-point and direction of underground and wall-through cables.Ideal for locating and tracking buried and hidden wires, cable locator, wire tracker, dog fence broken wire locator, invisible fence broken wire locator, wire tracker, electric fence tester and more

RELIABLE CIRCUIT TRACING: The Advanced Circuit Tracer Kit ensures dependable tracing of energized or non-energized breakers, fuses, and wires for accurate electrical identification
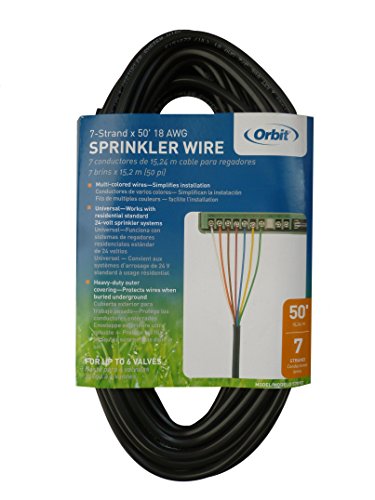
Professional Grade: 18-gauge copper conductors with color-coded insulation for easy valve identification
Probe Soil at 8‑12 in to Locate Underground Irrigation Lines
After tracing the wire with the electronic locator, switch to a simple probing method to confirm the pipe’s exact depth. Grab a long thin metal rod—steel works best—and push it straight down where you expect the line. You’ll feel a solid resistance around 8 in, which lets you estimate pipe depth quickly. Move the rod a few feet at a time, monitoring probing technique to stay on the line’s path. Start near valve boxes or sprinkler heads, then follow the line by probing every few feet. When you hit the pipe, angle your shovel, not hammering straight down, and dig a small trench to verify direction. Mark the spot, refill the hole, and continue until you’ve mapped the entire layout. The rod typically contacts the line at about 8 in deep. Proper depth helps maintain consistent water pressure and protects the line from frost damage. Adjusting depth based on soil type ensures optimal water distribution for healthy plant growth. Ceiling height also influences the required spray radius of pop‑up sprinklers.
Try a Pipe Detector or Leak‑Noise Correlator for Faster Discovery
A pipe detector or leak‑noise correlator can cut the unearthing time in half by letting you locate buried irrigation lines and leaks without a single shovel‑full of digging. First, connect the transmitter’s alligator clips to the irrigation wire or to a Radiodetection Electronic Transonde for plastic pipe. Power the unit, then sweep the receiver wand across the surface; the wand will glow when it senses the signal, letting you trace the line and pinpoint low frequency leaks. If you need to locate valves, attach the black clip to a grounding rod and the red clip to the target wire—avoid the common wire to prevent false readings. Use a leak‑noise correlator like the FCS DXmic to listen for acoustic signatures; its low‑pitch pulse travels deep, helping you detect radio emitting wires and isolate leaks quickly. Mark each spot as you go, then verify depth with the wand’s built‑in feature before you dig. The device is powered by cell batteries, allowing continuous operation without external power sources. Properly protecting your trampoline from sprinkler water can prevent material degradation and extend the life of the play area. adequate water pressure is essential for reliable detection and accurate line tracing. Understanding momentum change helps explain why higher flow rates increase detection effectiveness.

Advanced Leak Detection: Adjust the volume until it is appropriate to avoid excessive volume irritating the eardrum. High strength for water cement steel pipe is equipped with high sensitive technology,underground water leakage monitor, water leakage detector and water leak detection devices enables precise detection of underground water leakage

Advanced Ultrasonic Detection Technology Professional-grade leak detector utilizing 38-42kHz ultrasonic waves to pinpoint microscopic leaks in air, gas & water systems. Compact design with small size and light weight ensures reliable performance in harsh environments. (Includes noise-isolation headset)

Dual-Mode Leak Detection: Promptly locate pressurized/vacuum system leaks (Passive Mode) OR test sealed compartments like tanks, vehicles, & containers for integrity using the included ultrasonic transmitter.
Diagnose Problems and Know When to Call a Professional
Ever wonder why your sprinkler system suddenly loses pressure or sprays unevenly? Start with basic troubleshooting steps: verify the main valve is fully open, tighten any loose fittings, and reset circuit breakers. Inspect heads for clogs, cracks, or mis‑alignment, and watch for standing water that signals underground leaks. If pressure drops across zones, check for partially closed valves or multiple heads sharing a zone. When these checks don’t restore flow, it’s time to ascertain professional assessment benefits. A qualified technician can locate deep pipe breaks, perform pressure testing, and diagnose complex electrical faults that DIY tools miss. Their expertise prevents costly excavation errors and guarantees long‑term reliability of your irrigation system. Check the transformer output to ensure the controller receives proper 24 VAC. Regularly replacing worn sprinkler valve components can significantly extend the system’s overall lifespan. Undetected valve leaks can cause uneven watering and increase water waste. Properly sealing zone connections helps maintain consistent pressure throughout the system.


