Turn off the water and release pressure, then unscrew the nozzle and check the threads for damage or debris. Look for a worn or missing rubber washer or gasket; if it’s cracked, replace it with a new O‑ring. Tighten the nozzle fully onto the hose, and if it still drips, wrap a rubber band or tape around the male threads for a quick seal and lubricate the threads with petroleum jelly. Follow these steps and you’ll stop the leak, plus uncover deeper fixes ahead.
How to Pinpoint the Exact Nozzle Leak in Minutes
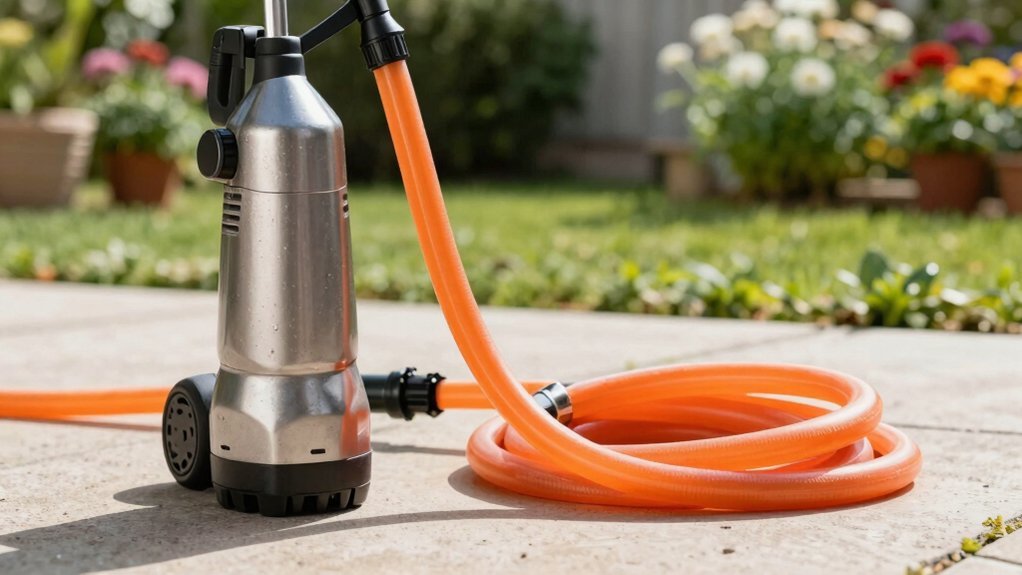
A quick way to locate a leaking nozzle is to turn off the water, unscrew the nozzle, and inspect each joint and gasket one by one. First, turn off the supply and release pressure, then unscrew the nozzle with hand or pliers. Gather a screwdriver, utility knife, and replacement washers. Examine the hose threading for damage, clean debris, and check the rubber gasket inside the nozzle. Unscrew the spray head, tap it to clear clogs, and inspect its gasket. Tighten the selector dial screw and, if needed, disassemble the dial mechanism, lubricating moving parts. Reassemble using the nozzle reassembly steps, then run low‑pressure water to perform nozzle testing methods. Gradually increase pressure, watching for leaks at every joint. The most common cause of a leak is a missing or damaged rubber gasket. Also, remember that using a hose connector with plumber’s tape can help prevent future leaks. Ensure the fitting matches the hose’s ¾‑inch garden hose thread to maintain a proper seal. Selecting the correct washer size is essential for a reliable, leak‑free connection.
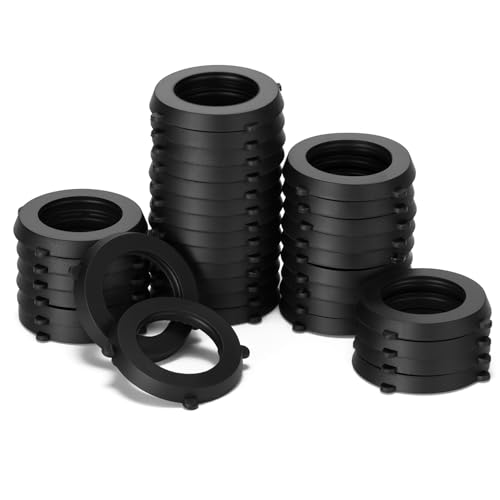
SELF-LOCKING TABS DESIGN: Unlike standard flat washers that easily fall out, our washers feature 4 small outer tabs that firmly grip the threads inside the fitting. This "Stay-in-Place" design ensures the washer won't get lost in the grass when you disconnect your hose or change nozzles.

SOLUTION: Superior All-Rubber Seal for all hose leak stopping!

Heavy Duty Rubber Washer - Professional-grade Thermoplastic Rubber (TPR) material provides you with tear strength, flexibility, weather, and abrasion resistance for long-lasting use
What’s Causing Your Nozzle to Leak?
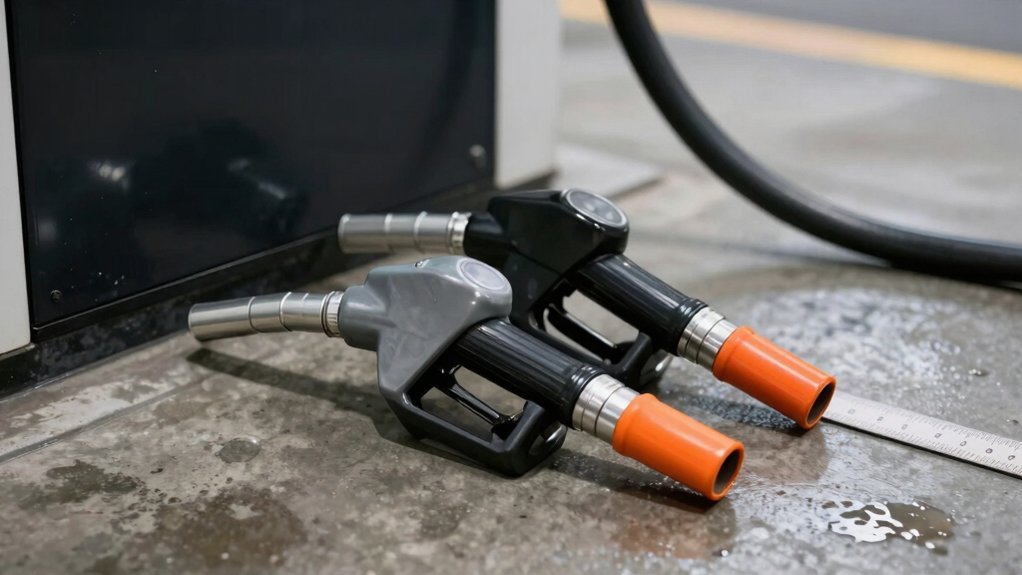
Now that you’ve pinpointed the leak, you can focus on why it’s happening. First, check for improper installation: guarantee the nozzle is fully screwed onto the hose coupling and that the threads engage evenly. If the connection feels loose, tighten it until you feel resistance—don’t overtighten, which can strip threads. Next, inspect the washers. Missing or worn rubber washers cause water to escape at the attachment point; replace them with inexpensive packs from a hardware store. Then, look for lack of maintenance signs: cracked or brittle hose material, corroded threads, and debris buildup all compromise seals. Finally, verify that the nozzle’s material isn’t degraded by sunlight or abrasion. Addressing these five points eliminates most leaks. Turn off the water before disassembly to prevent further spillage. Remember that garden hose threads use a straight thread design, unlike the tapered NPT threads used for high‑pressure plumbing. The hose’s pressure rating determines how much force the nozzle must withstand without leaking. Using a hose with a larger diameter, such as a 5/8 inch hose, can reduce pressure at the nozzle and help prevent leaks.
Household‑Item Quick Fixes for Leaking Nozzles
One quick way to stop a leaking nozzle is to grab a thick rubber band, wrap it several times around the male threads, and then screw the nozzle back on—this creates an instant seal without needing a spare washer. Next, if the band isn’t enough, clean the connection, then wrap electrical or duct tape around the joint, overlapping layers but not tightening too hard. For missing gaskets, turn off water, unscrew the nozzle, pull out the worn seal with needle‑nose pliers, and press a new one in place. You can also insert an O‑ring from a hardware store, ridged side out, into the clean connector. Finally, lubricate threads with a dab of petroleum jelly or soap, tighten evenly, and test. These inexpensive DIY sealing solutions act as homemade nozzle alternatives for quick, reliable fixes. Ensure the o‑ring ridges face the user when installing to create a proper seal. Metal hoses offer long‑term durability that can reduce replacement frequency. For a sturdy repair, consider using a metal hose clamp to reinforce the joint after cleaning. Understanding pressure loss helps you choose a nozzle that maintains spray efficiency while minimizing energy waste.
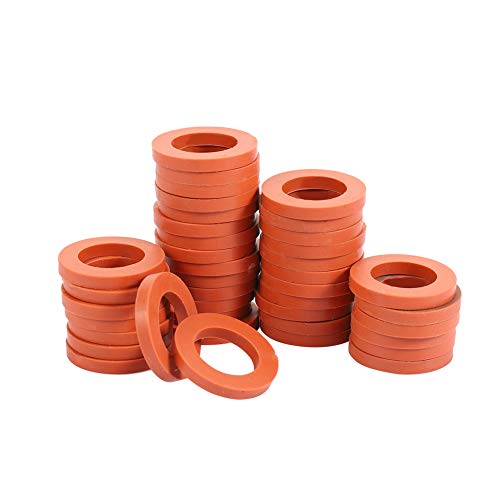
The hose washers are made from heavy duty thermoplastic rubber construction.

Garden Hose repair, Fit All Standard 3/4" Hose Fittings
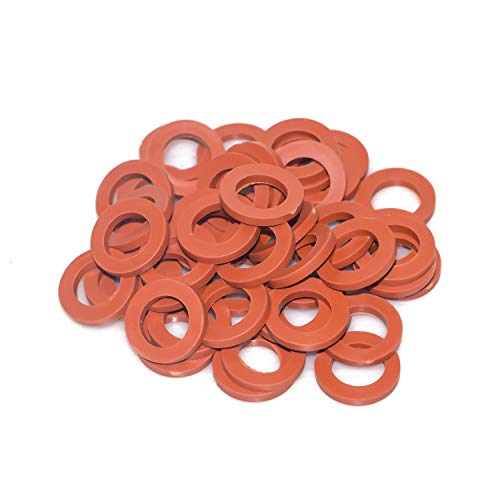
Package Include: 50 pieces red garden hose washers, fit all standard 3/4" garden hose fittings
Permanent Repairs to Stop Nozzle Leaks for Good
Three simple steps will give you a permanent fix for a leaking nozzle. First, replace the washer or O‑ring with a high‑quality rubber part; use a screwdriver or pliers to seat it fully, then test under water. Second, upgrade the hose material: swap the original plastic coupling for a metal fitting, cut a clean edge with a utility knife, and clamp it securely to prevent pull‑out. Third, apply corrosion prevention methods: coat threads with silicone lubricant, wipe metal surfaces with a rust‑inhibiting spray, and store the nozzle dry. Choose brass nozzle models for replaceable seals, keep spare washers and O‑rings on hand, and you’ll eliminate recurring leaks for good. For optimal performance, consider a nozzle with adjustable spray patterns to match garden size and watering needs. Understanding nozzle pressure ratings helps you select the right spray intensity for different cleaning tasks. Maintaining optimal water pressure ensures consistent flow and prevents premature wear.
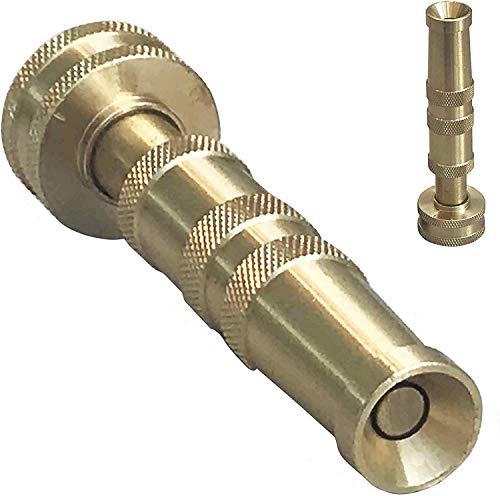
Water spray hose nozzle easy adjustment multiple spray patterns and flow volume are at your fingertips
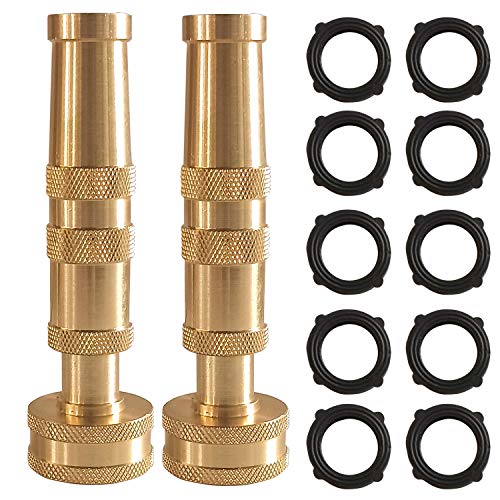
Package include: 2 pack heavy duty solid brass hose nozzles, 10 pieces garden hose rubber washers
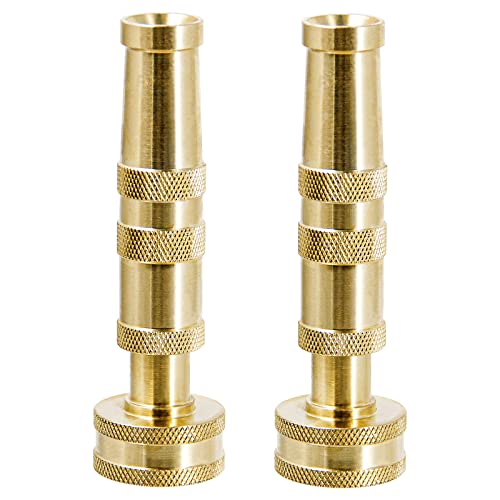
Heavy-Duty Construction: Solid brass construction ensures durability and long-lasting performance for all your outdoor watering needs
Preventive Maintenance Tips to Keep Your Nozzle Leak‑Free
A regular inspection routine—checking the nozzle, hose, and spray pattern each week—lets you spot cracks, worn O‑rings, or flow drops before they become leaks, so you can clean, lubricate, or replace parts promptly and keep your garden equipment reliable. First, run water and note any spray changes; if the pattern shifts, wipe the nozzle with a soft brush and soak it in a baking‑soda‑vinegar mix for 15 minutes. Next, apply silicone oil to the plunger and O‑rings, then pump the handle five times to spread the lubricant—this follows proper lubrication schedules. After cleaning, coil the hose loosely, secure it with a band, and store it in a cool, dry spot using seasonal storage methods. Finally, check for UV exposure and keep the hose out of direct sunlight to prevent brittleness. Residue removal is essential for restoring a consistent spray pattern. Consider using a pin or needle to clear any stubborn blockage in the nozzle. A clogged nozzle can also cause uneven spray that mimics stringing in a sprinkler system. Inspecting the spray pattern for irregular shapes can reveal early signs of nozzle clogging.