First, locate the plastic screws on top of the valve and turn the manual flow controller clockwise to the OFF position; watch for any water still leaking. Next, inspect the solenoid for leaks and replace a worn O‑ring if needed, then measure the water pressure with a gauge and adjust it to the manufacturer’s range. Check the diaphragm and valve core for debris or a stuck diaphragm, cleaning ports and flushing the orifice. Finally, test the solenoid’s resistance and guarantee the spring and plunger move freely—if you keep going, you’ll uncover more detailed troubleshooting steps.
Diagnose a Stuck Sprinkler in 5 Minutes
Kick off the diagnosis by locating the plastic screws on top of the sprinkler valve—these are the manual flow controllers. Turn the controller clockwise to the OFF position and watch for water.; if flow continues, the controller is improperly adjusted. Reset it, then verify that water stops, confirming the manual valve works. Next, inspect the solenoid: identify the cylinder‑shaped piece with two wires, turn it clockwise to OFF, and observe any trickle. Persistent leakage points to worn out internal seals or a faulty O‑ring; replace the O‑ring before proceeding. Finally, measure water pressure with a gauge; low pressure may keep heads from rising, while high pressure can cause misting. Adjust pressure or address underground leaks as needed. Valve is located in the valve control box. Understanding how the solenoid coil creates a magnetic field to move the valve core helps diagnose electrical failures. Uneven watering often signals a partially clogged valve that can be cleared with a gentle flush.
Clear Debris From Valve Ports and Diaphragms
When you’ve shut off the controller and main water supply, start by loosening all bonnet screws so you can lift the bonnet without losing the spring or diaphragm. First, perform a solenoid inspection: disconnect the two wires, remove the solenoid, and check the coil for corrosion. Then, rinse the diaphragm in a bucket of clean water, brush gently with a soft‑bristled brush, and discard any rocks or pebbles. Next, examine the valve ports: insert a thin flexible wire or cleaning needle through each port, pushing debris out without scratching the hole. Verify that the metal pin slides freely if present. Finally, conduct orifice maintenance by flushing the orifice with water using the Service Buddy tool, ensuring unrestricted flow before reassembly. Pressure release can cause injury when opening the valve. Proper water resistance design helps prevent moisture damage to the valve. The valve’s compact cylindrical housing often includes a transparent cover that lets you see the diaphragm and piston components. Selecting a valve with an integrated pressure regulator can simplify system setup and protect against high‑pressure damage.
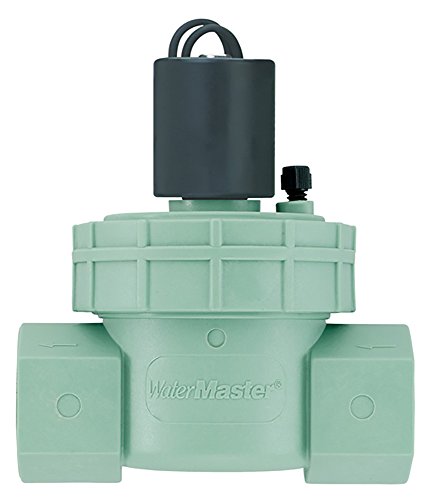
For controlling the flow of water in sprinkler or drip irrigation zones; 24 VAC solenoid includes manual actuation with a twist of the solenoid

For installation and maintenance of spray head sprinklers, nozzles, and risers

Superior Carbon Elimination: This intake valve cleaning brush system effectively removes hardened carbon deposits from combustion chambers. Two specialized brush types ensure complete engine coverage with drill-enhanced cleaning power. Dense nylon bristles safely clean cylinder walls without causing surface damage
Release a Stuck Diaphragm for Proper Closure
First, shut off the main water supply and then loosen the bonnet screws so you can lift the bonnet without losing the spring or diaphragm. Pull the bonnet off, then gently pry the diaphragm from its seat. If it sticks, use a flat‑head tool to lever it just enough to free the edges, being careful not to tear the rubber. Once released, inspect diaphragm condition for cracks, tears, or embedded sediment. Clean and flush components by opening the bleed screw for 60 seconds, allowing water to scour the seat and diaphragm surfaces. Remove any debris with a soft brush, then press the clean diaphragm firmly back into place, replace the spring, and tighten bonnet screws. Finally, turn the water on slowly, verify proper closure, and maintain clean valve components to prevent future sticking. Water pressure must be gradually increased to avoid valve hammer. Remember that most sprinkler solenoids are polarity‑agnostic and will function correctly regardless of wiring direction. If you notice irregular watering patterns, it may indicate a faulty solenoid that requires further inspection. You can also use a magnetic tracer to locate hidden solenoid wiring quickly.
Detect and Fix Faulty Solenoids That Keep Valves Open
A faulty solenoid keeps the valve stuck open, so start by confirming the electrical health before tackling the mechanical side. First, turn off the timer and measure solenoid resistance with an ohmmeter; 20‑60 Ω means it’s functional. If you read zero or infinite ohms, run an electrical short diagnosis and look for inadequate solenoid wiring, corrosion, or loose terminals. Verify voltage at the zone terminals with the timer off; presence of voltage points to a solenoid issue. Next, perform a kick‑start test using a Checkmate 3 or manual actuator: if the plunger doesn’t pull in, the solenoid is failed. Finally, inspect the O‑ring, plunger, and spring for damage, guarantee the solenoid is hand‑tight, and replace it if any test fails. If the valve vibrates when it is running, this can indicate which valve is the culprit. Not all zones require a solenoid, as some systems use manual or mechanical valves instead. Understanding standard vs proprietary designs helps you select a compatible replacement.

Replacement solenoid for Rain Bird APAS, ASVF, ECV, CP, CPF model valves

Captive hex plunger feature

Threaded bonnet design - Allows easy servicing without removal from the system
Replace Broken Heads and Adjust Pressure to Stop Sticking
After confirming the solenoid isn’t the culprit, turn your attention to the heads themselves. First, inspect each head for spray inefficiency, mis‑direction, or water jets from the ground—signs of a broken unit. Unscrew the damaged head from the riser, then match a replacement of the same size (or a larger diameter if unavailable). Screw the new head securely onto the riser, and replace any cracked risers to avoid future breaks. Next, address pressure: reduce zones or schedule runs during low household demand, open closed valves, repair leaks, and clean filters. Finally, lubricate rotation mechanism with WD‑40, clean gaskets, and maintain proper soil compaction around each head to prevent sticking. Adjust the sprinkler screw to fine‑tune water distance and flow. Replacing a single head can save time and money compared to a full system overhaul. Regularly check for corroded seals to catch early signs of leakage before they cause head failure.

DURABLE, LEAK-RESISTANT CONSTRUCTION: Heavy-duty body and cap provide reliable, long-term performance in both residential and commercial irrigation systems. Ribbed body design adds stability in loose soil and improves grip during installation.
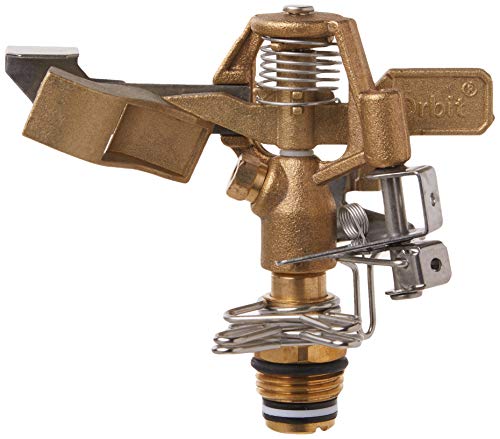
LARGE-AREA COVERAGE: Sprays up to 90 ft. in diameter, covering 6,360 sq. ft. when set to a full circle.
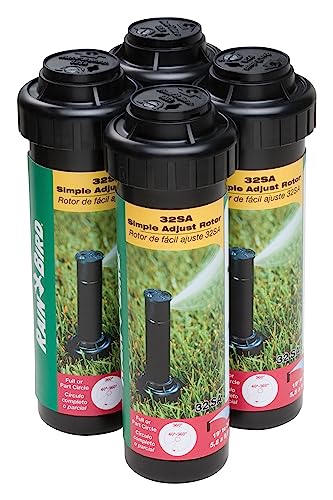
Economical 4-pack of water-lubricated, durable gear-driven rotors designed for reliable operation and long life


