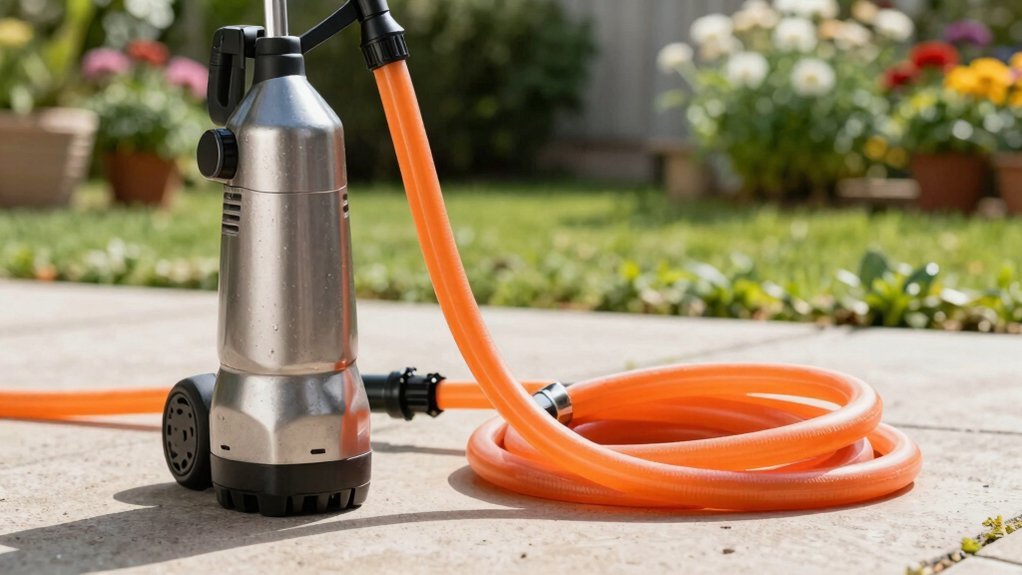
First, turn off the water and remove the aerator by turning it counter‑clockwise; use a towel and, if needed, a little vinegar or penetrating oil. Match the exposed thread (male or female) to the appropriate adapter—prefer a dual‑thread adapter if you’re unsure—and hand‑tighten it, ensuring the rubber seal engages fully. Push the garden hose onto the adapter’s 12 mm (3/4‑in) barbed fitting until it seats snugly, then secure it with a hose‑lock or push‑fit connector. Slowly open the supply, check for leaks, and tighten only by hand if needed; the next steps will show you how to add pressure regulators, shut‑off valves, and maintenance tips.
Figure Out Your Faucet Type and Pick the Matching Faucet‑Adapter
Before you start, identify whether your faucet has male or female threads; this determines the adapter you’ll need. Use the aerator removal technique to expose the threading: unscrew the aerator, then inspect the tip. Male threads protrude outward; female threads are recessed and often wrapped in a metal casing with a rubber ring. Verify faucet thread compatibility by matching the observed profile to your adapter kit. Choose a dual‑thread adapter if you’re uncertain, or select a specific male or female adapter from a seven‑ or nine‑pack for higher certainty. Guarantee the adapter’s material—brass with a chrome finish—meets lead‑reduction standards and that the rubber seal engages fully on female threads. Tighten by hand only; avoid overtightening to prevent damage. Two‑Pack adapters are designed specifically for female faucets. Remember to check for leaks after installation to ensure a secure, drip‑free connection. Understanding garden hose thread standards helps ensure the adapter fits properly. Garden hoses of larger diameters provide higher flow rates, which can be beneficial when connecting to a kitchen faucet for rapid filling.
Remove Aerator or Spray Head, Then Secure the Adapter
If the aerator or spray head is still attached, first cover the drain with a towel, then dry the spout and your hands for a secure grip. Turn the aerator counter‑clockwise by applying steady pressure; stop if it resists to prevent thread damage. For stuck units, spray penetrating oil or wrap a vinegar‑soaked rag for 10–30 minutes, then warm the metal briefly with a hairdryer—never heat plastic parts. When tools are needed, wrap masking tape or a rag around the housing to protect the faucet finish and use needle‑nose pliers or an adjustable wrench aligned with the flats. This method avoids metal tool damage, preserves the finish, and leaves the spout ready for the adapter. The aerator key makes removal even easier. Understanding NPT thread differences helps ensure you select the right adapter for a secure, leak‑free connection. The Bernoulli principle explains how nozzle design influences water speed. Choosing the correct washer size based on hose diameter prevents leaks and optimizes flow.
Connect Garden Hose to Faucet‑Adapter’s 12 mm (or 3/4‑in) Hose Fitting
When you line the garden hose onto the adapter’s 12 mm (3/4‑in) barbed fitting, push it firmly until the hose seats snugly against the barb, then engage the hose‑lock connector or push‑fit adapter to lock it in place. Verify the hose inner diameter matches the 12 mm barb; a mismatch reduces fitting durability and can cause leaks. The brass construction offers high material quality, resisting corrosion and tolerating temperatures up to 200 °F. After the hose is seated, click the lock connector, guaranteeing the hose lies between the teeth and center bit for a secure grip. If your hose is semi‑rigid, confirm it flexes without stress. Use an adjustable spanner on the flat spots of the male 1/2″ G thread only tighten enough to eliminate play, avoiding over‑torque that could damage the brass fitting. This method secures a reliable, safe connection before testing for leaks. The adapter includes two rubber rings for square and round taps, ensuring a snug fit on various faucet types. Choosing the correct garden hose thread size helps prevent leaks and ensures compatibility with standard (GHT) fittings. Maintaining water pressure within the optimal 40‑80 psi range promotes consistent flow and prevents strain on the hose and fittings. Selecting a high‑quality brass fitting can significantly extend the lifespan of your garden hose system.
Test for Leaks and Tighten or Reseal the Faucet‑Adapter Connection
After the hose is firmly seated on the 12 mm barb and the lock connector clicks into place, you must verify the joint is leak‑free before using the system. Turn off the water supply, open the faucet to release pressure, and drain any residual water from the hose line. Hand‑tighten the hose to the adapter, then slowly open the supply to low pressure. Observe the connection, the retainer gasket, and the internal faucet for any escape. If you see drips, troubleshoot valve seal by confirming the washer sits correctly and isn’t cracked. Inspect gasket integrity; replace a missing, deformed, or damaged gasket with a matching 3/4‑inch washer. Re‑tighten by hand only—avoid tools—to secure a snug, non‑overtight seal. Retest for 1–2 minutes; the joint should remain dry. A proper gasket is essential for preventing leaks. Stagnant water can harbor bacteria that may cause illness if the hose is used for drinking. Consider the potable water source to ensure the water supplied to the sprinkler system meets safety standards for consumption. Verify that the water complies with local water quality standards to avoid harmful contaminants.
Install Optional Faucet‑Adapter Accessories (Pressure Regulator, Shut‑Off Valve)
Before adding any accessories, make sure the faucet‑adapter is securely attached and the water supply is shut off. Shut the main line, open a nearby tap, and drain the pipe. Cut a straight 6‑inch section of pipe after the shut‑off valve, then apply Teflon tape to the regulator threads. Screw the pressure regulator onto the pipe with the flow arrow pointing toward the house, tighten with a wrench—don’t over‑tighten. Use a screwdriver to adjust the top screw until the gauge reads below 80 PSI; this protects pipe and appliance integrity and extends regulator lifetime. Proper pressure regulation is essential for preventing damage to plumbing and appliances. Next, perform valve installation: place a shut‑off valve inline after any timer or filter, thread it onto the adapter, and secure with pliers. Turn the water on slowly, inspect for leaks, and verify that the valve stops flow instantly when closed. Backflow prevention devices are required by many local codes to keep contaminated water from re‑entering the potable supply. Installing a backflow preventer on a garden hose can further safeguard against cross‑contamination.
Maintain Your Faucet‑Adapter and Hose Assembly
Regular inspection and cleaning of the faucet‑adapter and hose assembly keep the system safe and leak‑free. Disconnect the couplings from the water source three to four times a year, then scrub threads with a small bristled brush and mild soap. Rinse, wipe with a damp cloth, and dry completely to prevent rust. Perform a periodic corrosion inspection, looking for residue, cracks, or early rust, and remove any corrosion promptly. Check rubber or plastic gaskets inside hose connectors; replace worn washers and guarantee orange gaskets fit snugly. Hand‑tighten connections after gasket installation, then test for leaks by turning on water. For winter storage preparation, fully disconnect, clean, dry, and inspect all parts before storing, replacing any damaged components immediately. Measure the hose diameter and subtract 1/8 inch to determine the correct hose size. Selecting a hose with the appropriate flow rate ensures efficient watering and prevents pressure loss.