Mark each head with a bright flag or stake, then raise your mower deck a few inches and do a dry‑run test before cutting. Use swing‑joint donuts or buried heads so the blade glides safely, and trim the grass around each head with a weed whacker or hand clippers. Keep the blade sharp, turn off irrigation, and inspect any impacts right away. Follow these steps and you’ll mow confidently without damaging the system, plus uncover more tricks ahead.
Mow Over Sprinkler Heads Safely
When you mow, keep the sprinkler heads out of the mower’s path by marking them clearly and setting the blade height high enough to clear the heads; visual cue placement is your first line of defense. Plant bright flags or stakes next to each head, especially non‑pop‑up types, so you spot them before you cut. Then apply protective mowing strategies: raise the deck, run a dry‑run test, and use swing‑joint donuts or buried heads to let the mower glide safely. Trim the grass around each head with a weed whacker or hand clippers to keep the area visible. Regularly check blade height, turn off irrigation, and inspect any impact immediately. These steps keep your lawn pristine and your sprinklers intact. Grass overgrowth can block the sprinkler head from rising, so regular trimming is essential. Using a metal detector can help you locate underground sprinkler lines before you start mowing. Call 811 before any digging project to ensure you know where underground utilities are located. Consider employing a metal detector sweep to map out hidden irrigation components and avoid accidental damage.

Oregon Replacement Deck Leveling Gauge

3 tools in 1- easily converts 12" trimmer/edger to mower

Convertible Design: The removable wheeled deck allows quick transformation into a small lawn mower for versatile yard care
Fix Minor Sprinkler Head Issues Quickly Before Cutting Grass
One quick way to keep your lawn looking sharp is to tackle any minor sprinkler‑head problems before you start mowing. First, shut off the water at the main valve or controller; this stops pressure and lets you dig safely. Use a trowel to expose the base a few inches, being careful not to hit nearby pipes. If the spray looks uneven, remove the nozzle and rinse out debris to fix clogged spray nozzle. Flush the body, then reinstall the nozzle and turn the water back on. Test spray pattern post repair by observing coverage and adjusting the radius screw if needed. Quick checks for leaks, rotation, and spray direction guarantee the head works properly before you cut the grass. Tightening the radius screw reduces the water distance and amount. Cracked seals can cause leaks, so inspect them while the head is exposed. Properly adjusting the sprinkler head ensures even coverage and conserves water. Undamaged tubing prevents costly repairs and maintains consistent irrigation.

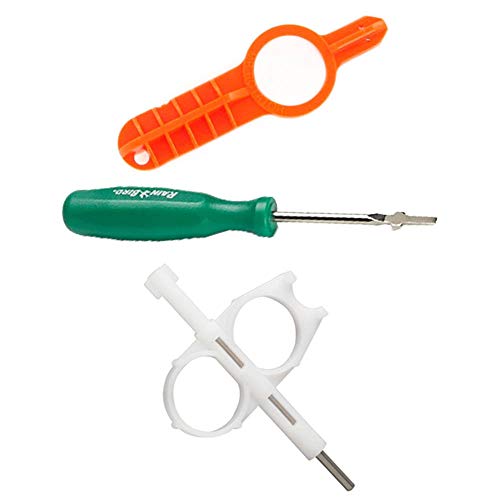
For installation and maintenance of spray head sprinklers, nozzles, and risers

Handy tool makes working on pop-up sprinklers easy

Sprinkler Head Pull Up Tool: Effortlessly lift and adjust sprinkler heads with the Spray Head Pull Up Tool, designed for easy use on buried pop up sprinklers. Compatible with Hunter, Rain Bird Sprinkler Heads, it's perfect for lawn irrigation system maintenance, nozzle replacement, rotor adjustment, and sprinkler cleaning
How to Tell If a Sprinkler Head Is Ready for Mowing?
If you spot brown patches, soggy areas, or unusually tall grass around a sprinkler, those visual cues tell you the head isn’t ready for mowing yet; first, walk the lawn and check each head for proper sprinkler head alignment. Look for even spray patterns and no water buildup; misaligned heads often miss targets or create wide arcs. Next, run a quick functional test: activate the system and watch each head pop up fully, spray consistently, then retract. Any head that dribbles, clogs, or stays stuck signals a problem. Inspect for cracks, bends, or tilted nozzles that could affect consistent sprinkler head operation. When every head shows uniform coverage, no leaks, and smooth movement, you can safely mow. Identify the head by comparing its nozzle shape and spray pattern to the visual guide. Understanding the color code on a sprinkler head can also help verify its type and compatibility before mowing. Regularly cleaning mineral buildup from the nozzle prevents clogging and maintains even spray.
Trim Grass Around Sprinkler Heads Efficiently
Even with a thriving lawn, the area right around each sprinkler head can quickly become a tangled mess, but a quick, systematic trim keeps the water flow clear and the grass healthy. Start by turning the water on and using the HeadsUp Sprinkler Trimmer; place the tool over the head, twist for three seconds, then lift to clear grass and debris. For stubborn overgrowth, insert a bulb planter around the base, twist back and forth, and pull out the clump. If you prefer a permanent barrier, install concrete donuts or use a Norbit Sprinkler Doughnut Cutter for a clean circle that matches the head’s diameter. Always check the spray pattern after adjusting sprinkler heads, and keep the area free of weeds to protect sprinkler heads. Repeat every three to four weeks during active growth. Turf aggressively buries sprinkler heads, so regular trimming prevents them from being hidden again. Understanding the valve operation helps ensure the water pressure remains optimal for consistent spray. Properly maintaining the main line reduces the risk of leaks and ensures even distribution across the system.

Widely Compatible: This sprinkler head trimmer tool attaches to any standard 1/2" cordless drill, turning your drill into an efficient sprinkler head grass tool. It sprinkler head cutter quickly removes grass and soil around irrigation heads, saving time compared to manual digging or edging.

HEAVY-DUTY STEEL SHAFT – 5/8" powder-coated structural steel resists bending and rust
Hunter Key
Maintain Sprinkler Heads for Reliable Retraction
Keeping your sprinkler heads retracting reliably starts with a regular, hands‑on maintenance routine that catches issues before they cause costly damage. First, run the system and check sprinkler head heights while each zone operates; any head that stays low or leans tells you it’s sunken or tilted. Dig around a sunken head, lift it to ground level, and repack soil tightly so it clears the grass when popping up. For tilted heads, straighten them and repack the base, then prune any roots that push the nozzle off‑axis. Monthly, remove grass, dirt, and rocks from the nozzle, unscrew the top, brush the filter, and soak it in vinegar for 15 minutes. This routine helps you identify recurring sprinkler issues before they become costly failures. Measure depth of each head to ensure it is within the proper range. Burying sprinkler lines at a depth of 6 to 12 inches helps maintain consistent water pressure and protects the system from frost and foot traffic. Proper sprinkler head height ensures optimal coverage and minimizes water waste. Understanding spray radius is essential for spacing heads to achieve uniform coverage while conserving water.

Adjustable Nozzle: with adjustable patterns from 0 to 360 degrees, slightly twist the textured center collar, you can increase or decrease the pattern; Ideally, for example, at a pressure of 2.1 bar, the maximum spraying radius of a 10van nozzle is about 6.9ft/ 3meters, the maximum spraying radius of a 12van nozzle is about 9.8ft/ 3.7m, the spraying radius of a 15van nozzle is about 14.7ft/ 4.6m, and the spraying radius of a 17van nozzle is about 15.4ft/ 5.2m
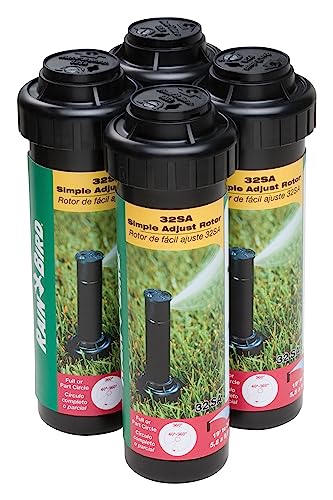
Economical 4-pack of water-lubricated, durable gear-driven rotors designed for reliable operation and long life
When You Should Call a Pro for Faulty Sprinkler Heads
After you’ve inspected and cleaned each head, you’ll start noticing signs that a DIY fix won’t cut it. If you see recurring leaks that tighten seals can’t stop, or water pooling after shutdown, call a pro. Persistent drips usually mean seal damage, corrosion, or a hidden pipe crack that needs expert diagnosis. Cracks, dents, or misaligned heads that sputter, dribble, or mist indicate permanent sprinkler head damage—replace them before they ruin your lawn’s uniformity. Heads that refuse to pop up, or low‑pressure geysers, suggest valve or electrical faults; only a technician should tackle those. When any of these issues appear, schedule professional service to prevent costly water‑bill spikes and extensive system failure. Debris buildup can also cause the nozzle to jam, leading to uneven spray patterns. A clogged nozzle often shows a narrow spray that reduces coverage and can be fixed by cleaning or replacing the head. A worn nozzle can create thin string‑like streams that further disrupt uniform watering.

What you will get: you will receive 10 pieces variable arc nozzles, enough for your replacements or share with friends and neighbors.
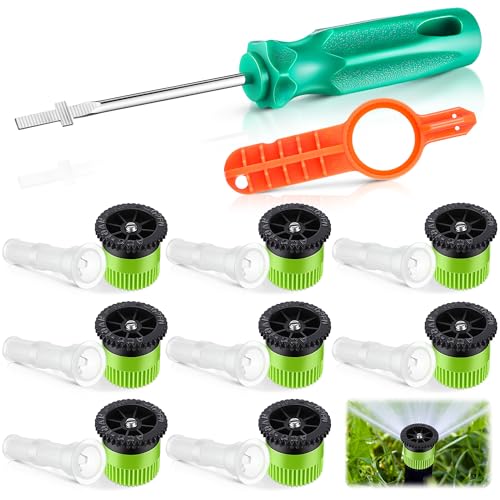
Sprinkler Tool Set: you will receive 8 green variable arc nozzles, 8 nozzle filters, 1 Spray Head Rotor Adjustment Tool and 1 rotor adjustment tool screwdriver. The complete sprinkler tool set provides you with more precise adjustment distance and arc of the lawn sprinkler system


