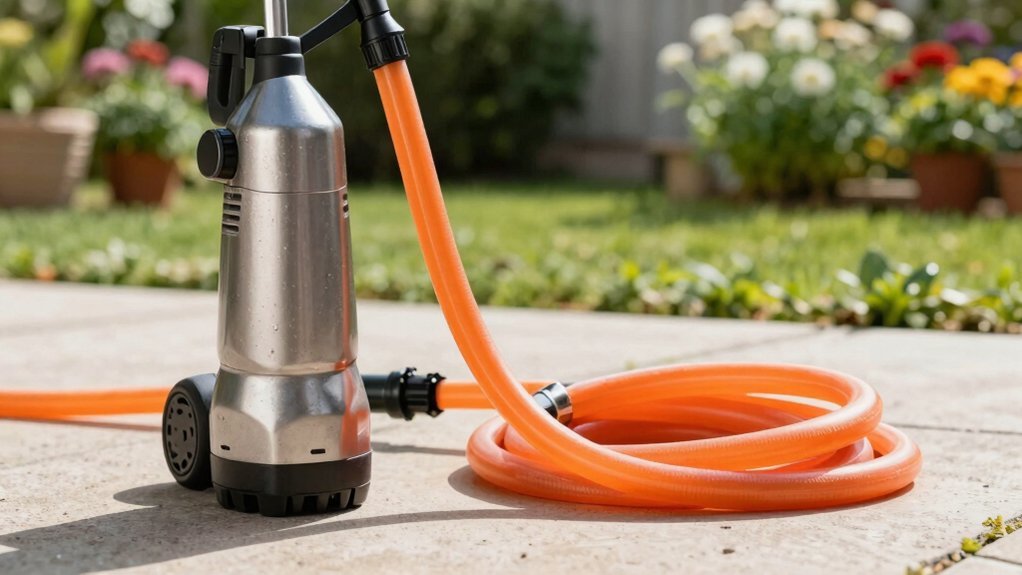
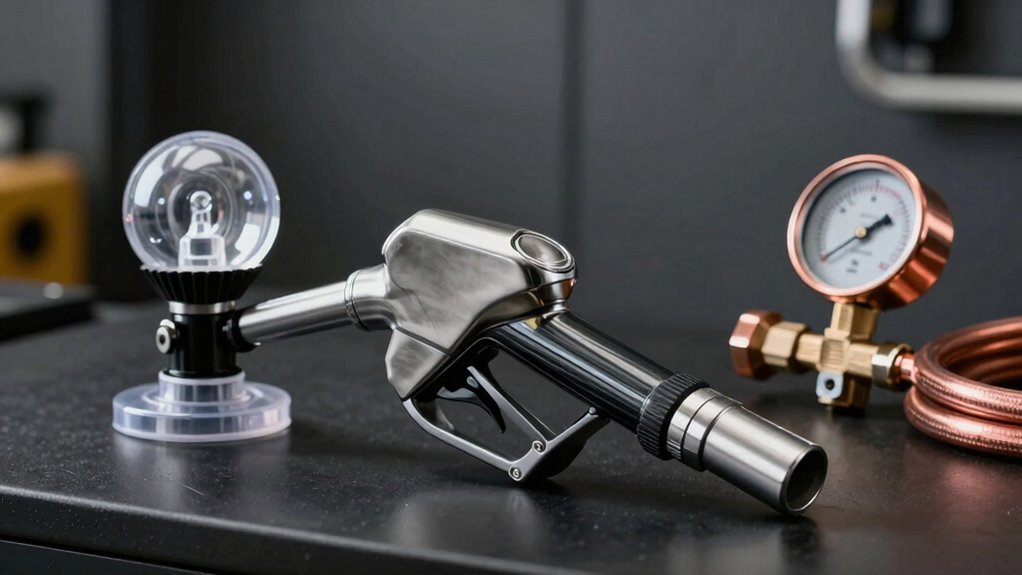
Cut the damaged section with a utility box cutter, then strip the inner latex tube to expose clean ends. Slip a barbed, collar‑style connector onto each end and apply a thin coat of E6000 adhesive for extra sealing. Tighten a stainless‑steel worm‑gear clamp over the connector, matching the hose’s diameter (typically 5/8‑inch or 3/8‑inch). Pressurize the hose with a vacuum pump and gauge to confirm no leaks. If you keep going, you’ll uncover more detailed steps and maintenance tips.
Gather the Essential Tools for Expandable Hose Repair
When you’re ready to fix an expandable garden hose, start by assembling the specific kits and accessories designed for its unique construction. First, focus on choosing repair kit components that match the hose’s dimensions; the SPEQUIX kit supplies four connectors, four shut‑off valves, and eight rubber gaskets, while the Gardeningwill kit offers female/male connectors and O‑ring seals for 3/4″ US threads. Identifying hose size requirements is indispensable—ELEY brass fittings are rated for 5/8‑inch hoses, and a 3/8″ brass barbed coupling works for smaller sections. Gather steel or worm‑gear clamps, a utility box cutter, and the ELEY fitting repair tool with its 5 mm hex key. Include a power drill with a 5 mm hex bit and vice‑grip pliers for precise installation and leak isolation. Removing the problematic section ensures you keep the good part of the hose intact. Consider the space‑saving advantage of expandable hoses when deciding if a repair is worthwhile. Sunlight exposure can accelerate material degradation, so store the hose away from direct UV rays when not in use.

Rapid Hose Repair: Fix your telescopic garden hose in just 3 minutes with our easy-to-use repair kit, saving you time and money while extending your hose's life.

【EXPANDABLE HOSE REPAIR KIT – 25–100 FT】- Fits 25, 50, 75, and 100 ft retractable expandable hoses, compatible with Pocket Hose and Flexi Hose. Suitable for hoses with an inner diameter of about 8–10 mm (0.3–0.4 in), commonly 3/4" and 5/8" expandable styles. Not for stainless steel hoses, plastic or rubber hoses.

Save Your Money: Don't throw away your broken expandable garden hose, fix it in just 5 minutes with our repair kit! It's also a backup accessory for your retractable garden hose after a long period of use
Step‑by‑Step Expandable Hose Repair: Cut, Fit, Secure
With your tools and parts gathered, start by cutting away the damaged section. Slice the outer nylon with a sharp knife, making a clean, straight cut that exposes the inner latex tube without nicking it. Pull the nylon back fully, clean the latex ends with soapy water, and let them dry. Apply a thin layer of E6000 adhesive to the hole, smooth it, and let it cure 24 hours; then perform adhesive reapplication for a second coat, shaving any excess after the final cure. Insert a barbed, collar‑style connector into each latex end, warming the hose if needed to ease insertion. Secure the new segment with clamps, test under pressure, and note the material quality comparison—metal fittings outlast plastic ones. Choose the correct hose thread size, such as a ¾‑inch GHT fitting, to ensure a leak‑free connection. When connecting a pressure washer to a garden hose, verify that the hose can tolerate the required pressure to avoid bursts. Using a hose with an adequate pressure rating is essential for safety.
Select the Proper Clamp or Reusable Fitting for a Leak‑Free Seal
Choosing the right clamp or reusable fitting is essential for a leak‑free seal, and you’ll want a component that matches the hose material, diameter, and pressure requirements. Select a clamp whose material composition aligns with outdoor exposure—stainless steel for corrosion resistance, carbon steel for strength, or plastic for temporary setups. Match the clamp size to the hose’s tubing diameter; wide‑band clamps cover 1‑1/2‑inch hoses, while standard worm‑drive or wire clamps suit smaller lines. Apply proven clamping techniques: slide the clamp onto the cuff before joining the fitting, position it at the midpoint for balanced pressure, then tighten with a flat‑head screwdriver or torque wrench until the ring compresses evenly without deforming the hose. Verify tension by tugging the hose; the clamp should hold firm, ensuring a leak‑free seal. During peak pool season, pressure buildup can cause hoses to detach, so proper clamping is crucial. A secure connection also prevents water leaks that can waste resources and damage garden beds. Most residential hoses use a standard ¾‑inch garden hose thread for compatible fittings. Understanding the hose’s diameter helps you select a clamp that provides the optimal grip and flow capacity.

GUDUI Hose Clamps Set --- Various sizes(Diameter) of clamps available: 1/4 inch, 1/2 inch, 3/8 inch, 5/8 inch, 1 inch, 2 inch, 1-1/4 Inch, 2-1/4 Inch, 1-1/2 inch, 2-1/2 inch, 3 inch, 4 inch. Stainless steel clamps adjustable with the various size, help you easy to do the repair job.

Heavy Duty: The buckle of our hose clamps is welded to increase breaking torque by 60%. The non-perforated band prevents deforming and stripping if over-torque. Our worm drive hose clamps provide superior clamping force and safe sealing. Failure torque: 65 lb-in, recommended installation torque: 40-45 lb-in.
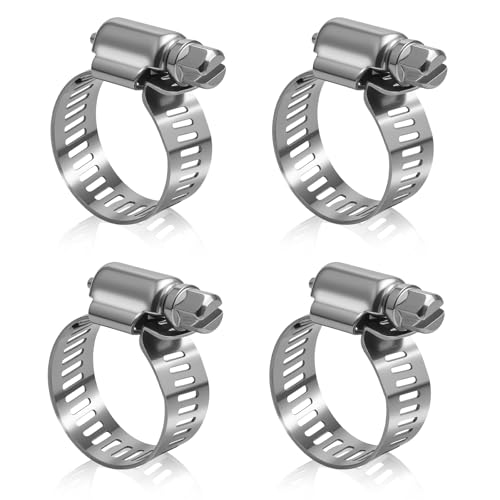
Made of 316L Stainless Steel, with excellent corrosion resistance, can withstand high temperature, high pressure and a variety of harsh environment, especially suitable for fuel pipelines, marine applications or other corrosive environment
Test Your Expandable Hose Under Pressure and Fix Leaks
If you want to verify that an expandable hose can handle its rated pressure and locate any leaks, connect a vacuum pump to one end and a pressure gauge to the other, secure all joints with clamps or sealing tape, then gradually apply the specified negative pressure—typically –8 bar for a hose rated at 10 bar—while watching for deformation. Follow hydrotesting procedures by holding the pressure for several minutes, then inspect the hose for bulges, cracks, or water spray when you release the vacuum. Tighten any loose clamps, replace damaged sections, and re‑test to confirm the repair eliminates leaks. This disciplined approach minimizes stress on the inner rubber lining, ensuring preventing failures and extending the hose’s service life. Using an expandable hose with a power washer can provide faster cleaning while maintaining hose integrity. Selecting a hose with an appropriate pressure rating is essential for safe and efficient operation. Consider hose length because longer hoses increase pressure loss, which can reduce cleaning performance.

IP67 Waterproof: The circular dial is enclosed in a 304 stainless steel case for corrosion resistance. The PRV-Tex Vent design can reduce fogging of windows inside or moisture damage from the infiltrating water such as being installed in environments exposed to moisture or rain. Offer clear reading and rain-resistant.

Precision Dual-Scale with Peak Memory: This pressure meter measures 0-200 PSI/0-14 Bar with ±2-1-2% accuracy (ASME B40.1 Grade A). Red max pointer tracks and retains peak pressure spikes, easily reset for monitoring faucets, spigots, or hydraulic systems.

Wetted materials: lead free brass, stainless steel, and food-grade silicone sealing ring. Suit for measuring potable drinking water pressure.
Maintain Your Expandable Hose to Prevent Future Breaks
After confirming the hose holds pressure and fixing any leaks, focus on routine maintenance to keep it from breaking later. Drain the hose completely by turning off the supply, activating the sprayer, and holding it vertically or on a slope until no water remains. Then coil it loosely, avoiding tight bends, and store it off the ground in a dry, shaded area—this meets proper storage conditions and prevents kinks, UV damage, and mold. Follow a seasonal maintenance schedule: before winter, empty and dry the hose; before summer, inspect for cracks, flush with clean water, and wipe down any debris. Use a broad, smooth holder or reel, not sharp hooks, and cover the hose with a cloth or tarp if it must stay outdoors. Regular cleaning and careful storage extend the hose’s lifespan and reduce future failures. Consider using a low‑temperature‑rated hose to further protect against freezing damage. Water in a garden hose can reach elevated temperatures when exposed to strong sunlight and high ambient heat. Understanding ambient air temperature helps predict how hot the water will become on sunny days.