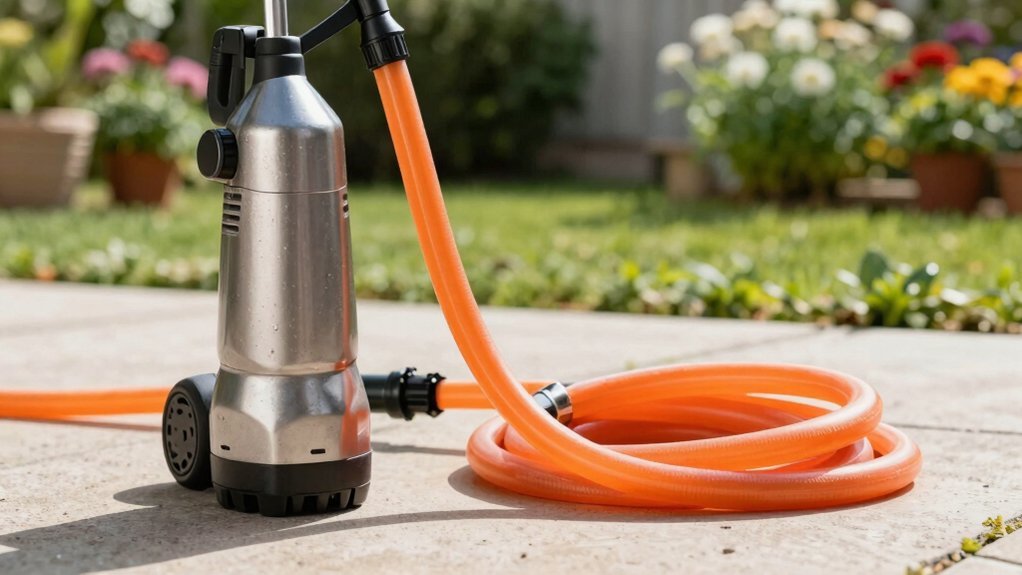
Inspect the hose under sunlight for dents, rust, or bent barbs, then measure its diameter. Cut a clean end with cable cutters, wrapping the braid in tape to prevent fraying. Slide a matching brass barb or copper stub into the cut, lubricate the interior, and secure it with a high‑pressure clamp rated above the hose’s max psi. Wrap the joint with 24‑gauge copper wire, heat, flux, and solder the wrap, then grind smooth. Finally, attach the hose, open the valve, and watch for leaks; the next sections cover deeper troubleshooting and maintenance tips.
Spot Damage on Your Metal Garden Hose
Spot damage on a metal garden hose shows up as irregularities in the surface, so start with a visual inspection under direct sunlight. Walk the hose slowly, rotating it to keep the light even, and run your fingers along the length to feel for dents, kinks, or rough spots. Look for discoloration, rust, or pitting that signals corrosion. When you reach each connector, inspect barbs for damage—check for bent or worn threads that could leak. Measure the hose against a known gauge to confirm hose diameter fits, ensuring uniform flow. Mark any defect with tape, note its position, and photograph it for later reference. This systematic scan isolates weak points before you move on to pressure testing. Regularly cleaning the hose helps prevent UV degradation and prolongs its usable life. During summer months, the water temperature in the hose can rise to match ambient air, often reaching near‑ambient temperatures that affect plant watering schedules. water temperature can exceed 120°F in direct sunlight, posing a risk of scalding.
Gather Tools & Materials for Metal Hose Repair
After you’ve pinpointed any dents, rust, or misaligned threads, assemble the repair kit before you start cutting. Gather brass fittings—male, female, and adapters in ⅝” and ¾” sizes—preferably lead‑free for drinking‑water safety. Pick a metal hose mender compatible with the hose’s metal hose composition; stainless‑steel barbed connectors work for 3/8″ sections, while Yardsmith or Proline couplings suit 5/8″ and 3/4″ hoses. Include hose end washers and clamps sized to match the hose diameter, plus clamping screws or screwdriver‑twist clamps. Stock a utility knife or box cutter for clean cuts, large wire cutters for metal sections, and a wrench or pliers for tightening. Add a 5 mm × 8 mm hex key, a power drill with a 5 mm hex bit, and a crimping tool for secure, leak‑proof connections. These metal hose materials and tools guarantee a precise, durable repair. Use high‑quality brass fittings to ensure a longer‑lasting seal. Consider checking the hose for a lead‑free certification to avoid potential contamination. Properly assessing water pressure before installation helps prevent future leaks. Choosing the correct hose diameter, such as 5/8 inch for heavy‑duty irrigation, ensures optimal flow and pressure performance.

Lead-Free Brass: Litorange is a Better Choice that can ensure a clean, leak-free connection

Lead-free brass swivel connector 90 degree elbow fitting servering as adapter with 3/4" FHT x 3/4" MHT, 1/2" ID.

DOUBLE YOUR WATER SOURCE: Instantly create two tap outlets with this ultra-durable 2 Way Y hose connector. The Extra Long Butterfly dual-valve design features built-in ON/OFF high quality ball valves with easier to grip Rubber & Metal handles!
Cut the Metal Hose Cleanly
When you’re ready to slice the hose, first secure it on a sturdy workbench and wrap the cut area with one to three turns of black electrical tape; this stabilizes the braid, prevents fraying, and gives you a clear line to follow. For optimum braid stabilization, choose 18‑inch electrical cable cutters; their long handles give leverage and the blades crush the braid just enough to keep the inner liner intact. Align the cutters for a controlled cutting angle of 90°, then squeeze steadily until the stainless steel braid separates cleanly. If you prefer a hacksaw, mount a 32‑TPI cobalt blade in a miter box, keep the tape wrapped, and draw the blade back and forth slowly to maintain straight, square edges. Both methods produce a precise, fray‑free cut ready for the next repair step. Use a steel cut‑off wheel for an even cleaner cut when a bench grinder is available. Pressure washer hoses are typically reinforced to handle higher pressures than standard garden hoses. Understanding psi and gpm is essential for matching hose performance to cleaning needs.
Prepare the Barbed Connector (or DIY Copper Stub) for Metal Hose
Choosing the right barbed connector—or a DIY copper stub—sets the foundation for a secure metal‑hose repair. First, verify hose barb sizing: metal hose ID must match the stub’s OD within a tenth of an inch; stainless‑steel or brass barbs work best for high‑pressure sections. If you opt for a copper stub, cut a short piece of stiff tubing, then deburr the ends and guarantee the wall thickness is about ¼ inch. Apply a drop of non‑toxic lubricant or soapy water inside the stub to reduce friction. Slide a screw‑type hose clamp over the stub before insertion; use two clamps opposite each other for even pressure. Follow these clamp selection tips: choose clamps rated above the hose’s maximum pressure and affirm the screw head fits your screwdriver or wrench. Tighten lightly to hold the stub in place, then proceed to the next step. Barb fittings are designed for low to medium pressure systems up to 150 psi. Maintaining optimal pressure ensures the repaired hose performs reliably under typical residential water pressures. Garden hose threads differ from NPT connections in pitch and sealing method, making them unsuitable for high‑pressure applications. A larger hose diameter can increase flow rate, but water pressure must be sufficient to achieve the desired gallons per minute.

【Material】Made of stainless steel 304, high quality, can work in high temperatures and pressure.

Versatile Compatibility: Designed specifically for 1-1/2" barbed hoses, this connector is compatible with piping systems with an inner diameter of 1-1/2" (not compatible with black polyethylene tubing). This product is widely used in a variety of industries, including water supply, gas, chemical, and food processing, meeting diverse application needs.

Versatile Compatibility: Designed specifically for 1-1/4" barbed hoses, this connector is compatible with piping systems with an inner diameter of 1-1/4" (not compatible with black polyethylene tubing). This product is widely used in a variety of industries, including water supply, gas, chemical, and food processing, meeting diverse application needs.
Insert and Secure the Repair Tube
Secure the barbed connector or copper stub in place, then move on to inserting the repair tube. First, check tube length considerations: the tube must extend ½ – ¾ inch beyond each hose cut to accommodate clamps and allow full barb engagement. Account for hose thickness variations; thicker walls need a slightly longer tube to guarantee the barbs reach deep enough. Lubricate the tube with soap, then apply gentle heat to soften the metal hose. Use pliers with a slot to spread the hose end just enough for the tube to slide in without tearing. Push the tube fully into one side until the barbs bite, repeat on the opposite side, and verify that both ends sit flush against the hose walls before clamping. Use a high‑quality fitting to ensure a durable, leak‑free connection. Properly tighten the clamps to avoid low water pressure and ensure a secure seal. Selecting the appropriate brass material can further enhance corrosion resistance and longevity. Metal garden hoses offer long‑term durability that can offset their higher upfront cost.

Easy to use, suitable for 5/8 inch(diameter - 1.6cm) garden hose

Easy to use, garden hose connect and repair

The product contains 3 pcs male + 3 pcs female garden hose repair kit,6 pcs stainless tightening clamp, with 6 pcs free rubber gaskets
Solder & Reinforce the Metal Hose Joint
Begin by cleaning the cut ends of the metal hose until the copper surface shines, then apply a thin coat of flux to each end. Wrap a 24‑gauge copper wire three times around each joint, twisting the ends securely to maintain wire tensioning. Heat the joint with a torch until the flux bubbles, then introduce solder with low solder viscosity. The molten solder should flow into the wire wraps, forming a metallurgical bond. Keep the flame steady to avoid overheating adjacent hose sections. After the solder solidifies, cut away the twisted pigtails, then grind or file the joint smooth. Finally, wash off flux residue and inspect the reinforced joint for a flush, leak‑free finish. The flow rate through the hose is affected by Bernoulli’s principle which relates pressure and velocity. This transformation follows the continuity equation which ensures mass conservation as the fluid accelerates through the narrowed section. Understanding momentum change is crucial for evaluating the thrust generated by fluid flow in the hose.

AIM Plumbing Kit includes all the solder and solder paste flux you need.
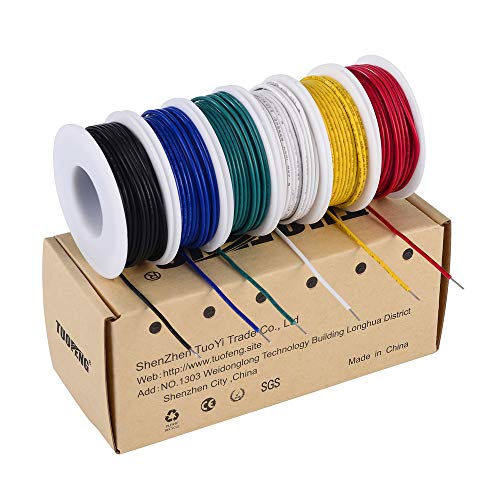
6-COLOR, 180 FT KIT - Includes red, black, white, blue, green, and yellow wire, 30 ft per color, for organized circuit identification and fewer wiring mistakes.
COMPLETE PACKAGE: Our pcb trace repair kit includes 2780 pieces of soldering pads, solder blocks, and solder pad repair components, providing everything you need for efficient circuit board repair tasks
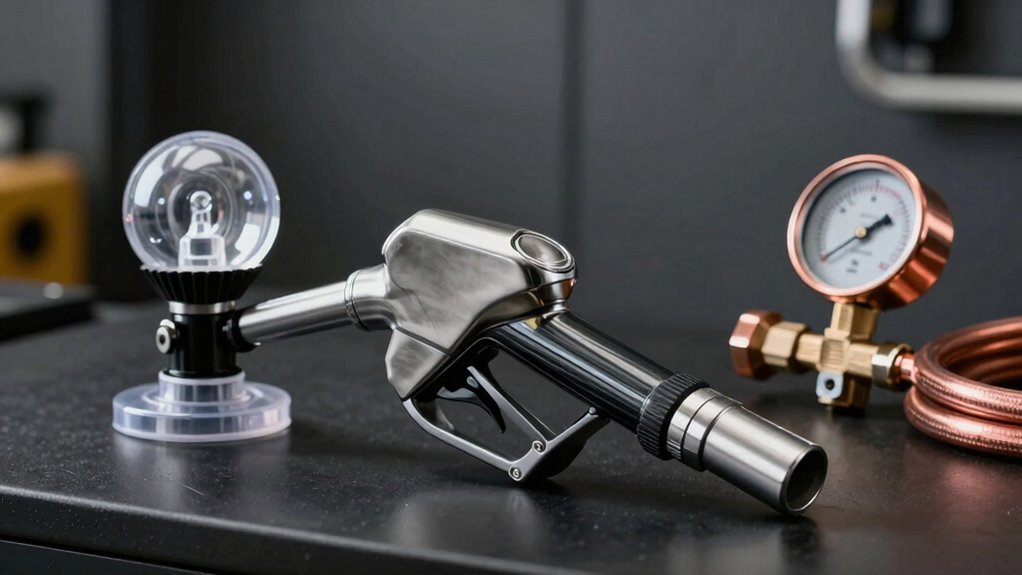
Test the Metal Hose Repair for Leaks
Before you confirm the repair, run a pressurized water test: attach the hose to the source, open the valve fully, and let water flow for 2‑5 minutes. Observe pressure flow patterns across the entire length, directing the stream through a sprinkler or nozzle to simulate normal use. While the water runs, monitor surface integrity for any mist, drips, or bulging at joints, couplings, and repaired sections. If you spot moisture, tighten the relevant clamp or screw incrementally, then re‑test immediately under full pressure. Repeat the tighten‑and‑test cycle up to three times until the flow remains consistent and the hose stays dry except at intentional outlets. Document the successful test for future reference. A light mist can help dissolve granular nutrients and promote even distribution, but excessive watering may leach nutrients away. optimal nutrient uptake is achieved by waiting 24–48 hours before deep irrigation. The lingering spray after shutting off the faucet is due to residual pressure in the hose. Regular maintenance can extend the lifespan of a sprinkler controller, which typically lasts 5‑10 years before needing replacement.
Fix Leaks That Remain After Testing
If the pressurized test still shows moisture, focus on the fasteners and sealing elements that can be adjusted without disassembling the whole splice. First, verify test connection alignment; the barbed ends must sit fully inside each hose section. Tighten clamp couplers with a screwdriver until snug, then use a vice grip or channel lock to evenly squeeze the tangs on barbed fittings. Inspect gaskets and washers for damage; replace any compromised parts. Re‑tighten packing nuts at faucet connections and apply fresh Teflon tape if needed. Pull the repaired segment firmly to confirm clamps hold without slip. Conduct a second pressure test; if leaks persist, repeat tightening passes and re‑examine all sealing components. For leaks within 3 feet of the end, you can simply cut off the damaged portion and replace it with a new clamp coupler.

End Female Hose Connector,Male Hose Connector/Replacement/Mender For 5/8 inch or 3/4 inch hoses

Garden hose splice,Fits 3/4"-5/8" Garden Hose Repair Fitting

Package Include: 6 pieces hose connectors and 12 pieces stainless steel clamps.
Maintain Your Metal Garden Hose to Prevent Future Failures
Regularly maintaining your metal garden hose prevents the failures that turn routine watering into costly repairs. Begin each season with a hose condition assessment: visually scan for cracks, cuts, bulges, discoloration, and worn couplings. Perform a pressure test to locate leaks, then flex the hose to detect stiffness or hidden fractures. Follow preventive maintenance practices by cleaning with a soft brush and mild soap, flushing out residues, and drying thoroughly. Store the hose out of direct sunlight, off the ground, and coiled in large loops or on a reel to avoid kinks. Drain water after each use, keep it away from sharp objects, and never leave it under pressure when idle. By integrating these steps, you extend service life and eliminate future failures.