First, shut off the water supply, verify the valve is closed, and depressurize the line to prevent accidental discharge. Inspect the head for cracks, corrosion, or dust, then use a low‑suction vacuum with a soft brush attachment or an NFPA‑25‑approved compressed‑air can at a 45‑degree angle to remove debris. Avoid solvents, high‑pressure water, or abrasive tools, and re‑test the head before re‑pressurizing. Follow up with a post‑cleaning inspection, and you’ll uncover more on maintenance frequency and replacement signs.
Essential Safety Steps Before Cleaning a Sprinkler Head
Before you begin cleaning any fire‑sprinkler head, you must first secure the system and verify the head’s condition. Shut off the water supply, confirm valve shutoff, and depressurize the line to prevent accidental discharge. Perform a visual inspection for cracks, paint, dust, or corrosion; any sign of damage mandates replacement rather than cleaning. Document the assessment to satisfy NFPA 13 compliance. Use soft microfiber cloths and avoid abrasive tools to safeguard against physical damage. Isolate the head from construction debris that could cause corrosion mitigation failures. Record all findings and actions in the maintenance log for traceability and regulatory audit. This systematic approach protects the sprinkler’s thermal elements and maintains system integrity. When wiring a new sprinkler timer, ensure the proper voltage rating matches the system specifications to avoid electrical issues.
NFPA‑Approved Cleaning Techniques for Sprinkler Heads
After securing the system and documenting its condition, you move to NFPA‑approved, no‑touch cleaning methods. Use a vacuum with a dedicated extension to draw dust, grime, and cobwebs from each head without contact; this prevents sprinkler system corrosion and satisfies inspection documentation requirements. Position a step ladder safely, then operate the vacuum at low suction to avoid dislodging internal components. For light debris, apply NFPA‑25‑approved compressed‑air cans, directing the jet at a 45‑degree angle and never allowing the nozzle to touch the head. Both techniques must be performed by a qualified person, and all actions must be recorded per inspection documentation requirements. If debris persists or damage is evident, schedule replacement according to NFPA 25. Proper head testing is essential before re‑pressurizing the system. Sprinkler activation typically occurs at 155 °F when the heat‑sensing element reaches its designed temperature threshold. Thermal activation ensures that only sufficient heat, not mere contact, will trigger a sprinkler.

For watering trees, shrubs, perennials, or annuals of various heights

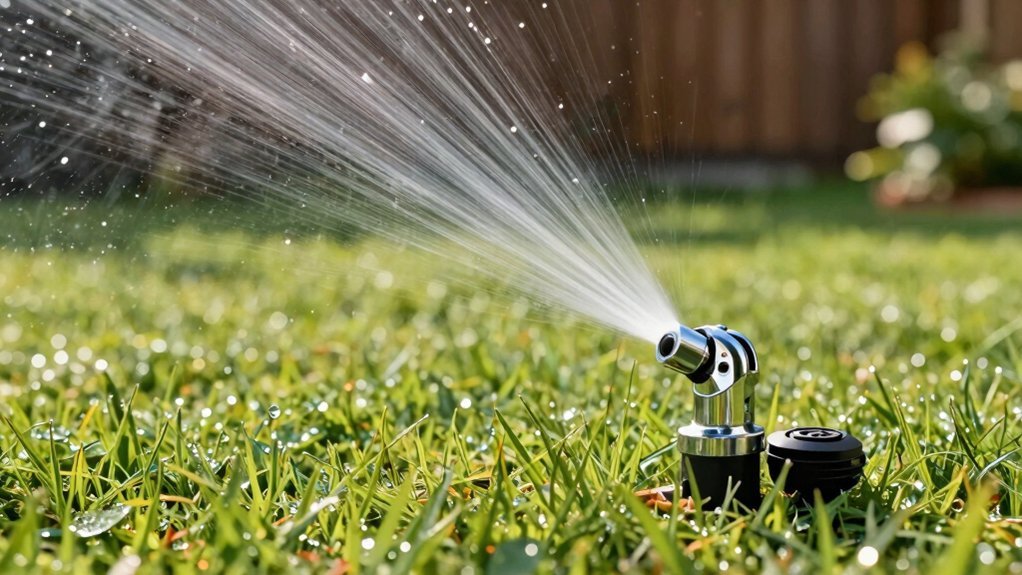
For replacing existing low-profile “flush” sprinkler heads in landscape areas; precision-machined brass or molded plastic ensure consistent spray quality

Gentle, Non‑Abrasive Sprinkler Head Cleaning Methods
When you need to clean a fire‑sprinkler head without risking damage, employ gentle, non‑abrasive methods such as dry dusting, low‑suction vacuuming, compressed‑air bursts, mild‑solution wiping, or a soft‑brush inspection. Use a soft microfiber cloth to remove surface dust, keeping pressure off the glass bulb and fusible link. Attach a soft brush to a low‑suction vacuum, hold it near the head, and extract debris from crevices without contact. Apply short bursts of compressed air to dislodge light particles, following NFPA‑approved airflow guidelines. For stubborn grime, use a mild solution compatible with the head’s materials—diluted dish soap or vinegar—applied with a soft cloth or toothbrush, then rinse thoroughly. Perform these steps at the recommended routine cleaning frequency to maintain reliability. Regular inspection can also reveal mineral buildup that may cause uneven watering or low pressure.
Common Cleaning Mistakes That Damage Sprinkler Heads
If you ignore the NFPA‑25 guidelines, you’ll likely make one of several common mistakes that can permanently damage a sprinkler head. First, Excess chemical misuse such as solvents, WD‑40, or abrasive cleaners corrodes seals and degrades rubber or plastic components, violating the no‑chemical rule and shortening service life. Second, Improper pressure adjustment—using high‑pressure water streams instead of the recommended gentle airflow—dislodges heads, cracks glass bulbs, and stresses fusible links. Third, cleaning without disabling the water supply creates accidental discharge and leaks, while neglecting a post‑cleaning inspection lets thread damage or seal failure go unnoticed. Follow NFPA‑25 by employing compressed air or vacuum, shutting off supply, and verifying function before re‑pressurizing. Proper hose selection a high‑quality material can also reduce damage during cleaning. Using WD‑40 alternatives such as silicone‑based lubricants avoids corrosion and residue buildup.

PREMIUM SILICONE FORMULA: The Original Performance Silicone Lube crafted with pure, high-quality silicone lasts as long as you do. Wet Platinum delivers a velvety-smooth glide that's perfect for adding a touch of luxury to your most intimate moments.

NSF Approved:Food grade silicone grease,odorless and colorless,no chemical contamination to drinking water.Retains its consistency in temperatures from -40° to 400° f,no pigment for clean use

SILICONE-BASED: This 4-blend pure silicone formula is ultra slippery with no sticky residue and designed to last. A little goes a long way with no need to stop the fun and reapply.
Signs It’s Time to Replace a Sprinkler Head
What indicates a sprinkler head is past its service life? You’ll see uneven water coverage, with dry patches or over‑wetted zones, and visible corrosion damage on the metal body. Rusted or bent heads lose pressure, causing spray to miss the target area and leak onto hardscape. Cracks, tilted stems, or springs that no longer retract signal mechanical wear. Persistent leaks around the seal, pooling after shutdown, or excessive blow‑by from the riser gap also demand replacement. If the head fails to pop up, rotates improperly, or repeatedly requires repair, it no longer meets fire‑safety code efficiency standards. In these cases, replace the unit promptly to restore reliable distribution and compliance. Low‑pressure residential heads typically last 5‑10 years, whereas high‑pressure commercial heads can endure 15‑20 years with proper maintenance. Regular inspection intervals help detect early signs of degradation before they become safety hazards. Understanding sprinkler head color codes can also aid in quickly identifying the type and specifications of a head during inspection.

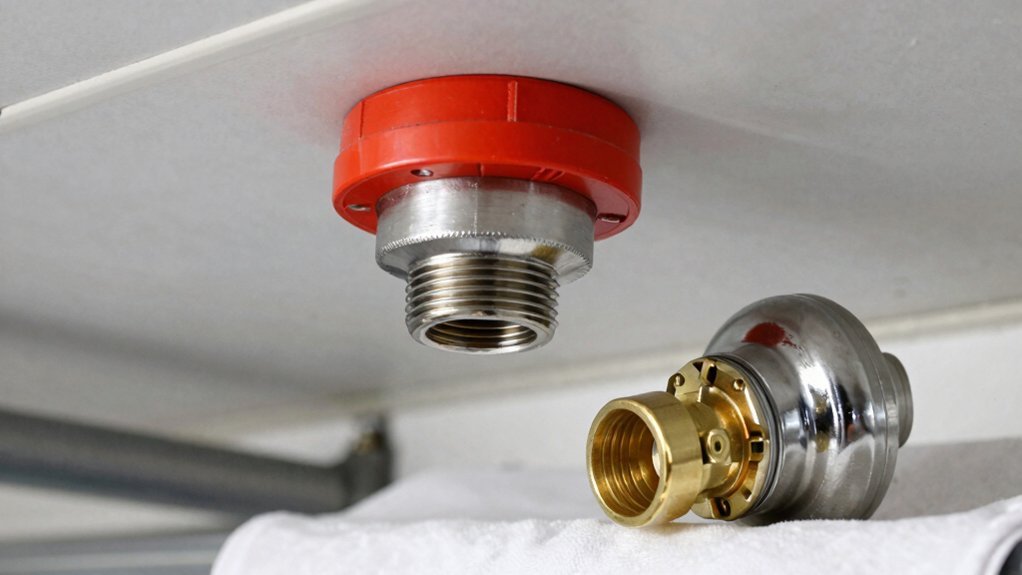
Durable replacement outer trim ring for recessed fire sprinkler escutcheons; restores a clean, professional ceiling finish by reusing the existing inner ring without removing the sprinkler head.

Durable replacement outer trim ring for recessed fire sprinkler escutcheons; restores a clean, professional ceiling finish by reusing the existing inner ring without removing the sprinkler head.

DURABLE, LEAK-RESISTANT CONSTRUCTION: Heavy-duty body and cap provide reliable, long-term performance in both residential and commercial irrigation systems. Ribbed body design adds stability in loose soil and improves grip during installation.
How Often Should You Clean Sprinkler Heads?
Uneven coverage and corrosion already signal that a sprinkler head needs replacement, but even well‑maintained heads can lose effectiveness if debris accumulates. NFPA 25 doesn’t prescribe a fixed cleaning schedule; instead, you base it on annual maintenance inspections and environmental conditions. Conduct a from‑floor visual inspection each year to spot dust, cobwebs, or coating that could impede activation. If inspection reveals loading, clean the head immediately. In high‑dust facilities, increase inspection frequency and adjust cleaning schedules accordingly. For older systems, align cleaning with age‑related testing intervals—1 % of heads after 50 years, then every 10 years, tightening to every 5 years after 75 years. Document each inspection and cleaning action to satisfy regulatory compliance. Sprinklers detect heat within seconds, allowing rapid response that significantly reduces fire damage. Understanding the water flow rate of the system helps estimate the volume of water used during each activation.
What Tools Do You Need for Safe Sprinkler Head Cleaning?
A complete, safe cleaning kit starts with proper protective gear—compressed‑air or vacuum equipment, safety glasses, and gloves—to keep debris and delicate components from injury. Add a soft‑bristled brush, a soft sponge, and a stiff wire for gentle loosening. Include a riser extractor, adjustable vice grip, needle‑nose pliers, and specialized tools like the Rainbird spray head tool or King Innovations blazing spray lock for nozzle work. Prepare a cleaning solution using mild dish soap or vinegar, warm water, and a bucket; maintain this mixture ready for cleaning solution preparation. Store all items in a labeled container or tray to guarantee storage organization, prevent loss of small parts, and comply with NFPA‑mandated no‑contact cleaning procedures. Regular testing ensures that the system will function correctly when needed. The system’s low‑voltage power ensures safe operation while minimizing energy consumption. Properly sealing conduit connections can prevent moisture intrusion that leads to corrosion.

5 Pack Sprinkler Head Tool for Lawn Irrigation: This 5 Pack sprinkler head tool kit includes everything you need to maintain and adjust your sprinkler system: rotor adjustment tool screwdriver, spray head pull up tool, hold up collar, sprinkler rotor adjustment tool and sprinkler key tool. Whether you're adjusting rotor heads or replacing nozzles, this all in one set is designed compatible with RainBird, compatible with Hunter

For installation and maintenance of spray head sprinklers, nozzles, and risers

5 Piece Sprinkler Head Tool Kit – This 5 piece kit includes everything you need to maintain, repair, and adjust your lawn irrigation system: rotor adjustment screwdriver, sprinkler head pull up tool, nozzle insertion collar, rotor nozzle adjustment tool, and sprinkler key tool
Post‑Cleaning Inspection and Ongoing Maintenance
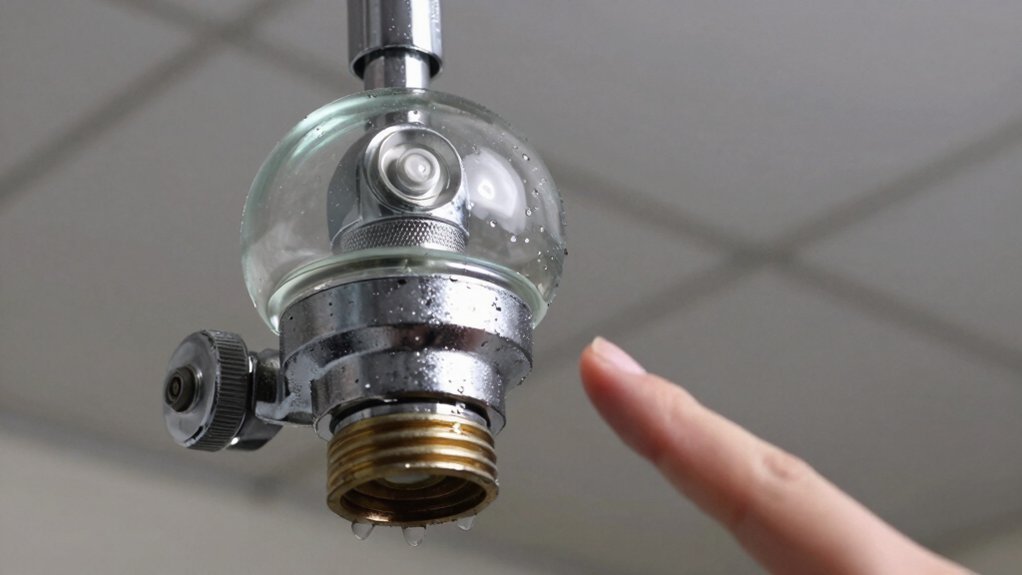
After you finish cleaning each sprinkler head, immediately inspect it for cracks, dents, corrosion, and any discoloration of the glass bulb or fusible link that could indicate impending failure; verify that no leaks appear when you restore water pressure and that the spray pattern remains unobstructed. Document orientation, clearance, and any misalignment, then log the findings in your component lifecycle tracking system. Conduct routine flow testing at remote points to confirm pressure and discharge meet NFPA 25 criteria. Schedule annual visual inspections, light vacuum or compressed‑air cleaning for lightly loaded heads, and professional audits for thorough checks. Replace any head showing discoloration, loading, or structural damage per NFPA 13 and 25 standards, and retain all records for compliance verification. Heat‑sensitive glass bulbs activate automatically when a specific temperature threshold is reached, ensuring rapid response without manual intervention. Understanding the sprinkler activation time helps predict how long the system will stay active during a fire. Proper color‑coding of fire‑suppression pipes is essential for quick identification and compliance with fire‑code standards.